3D Ladybug Craft for Kids
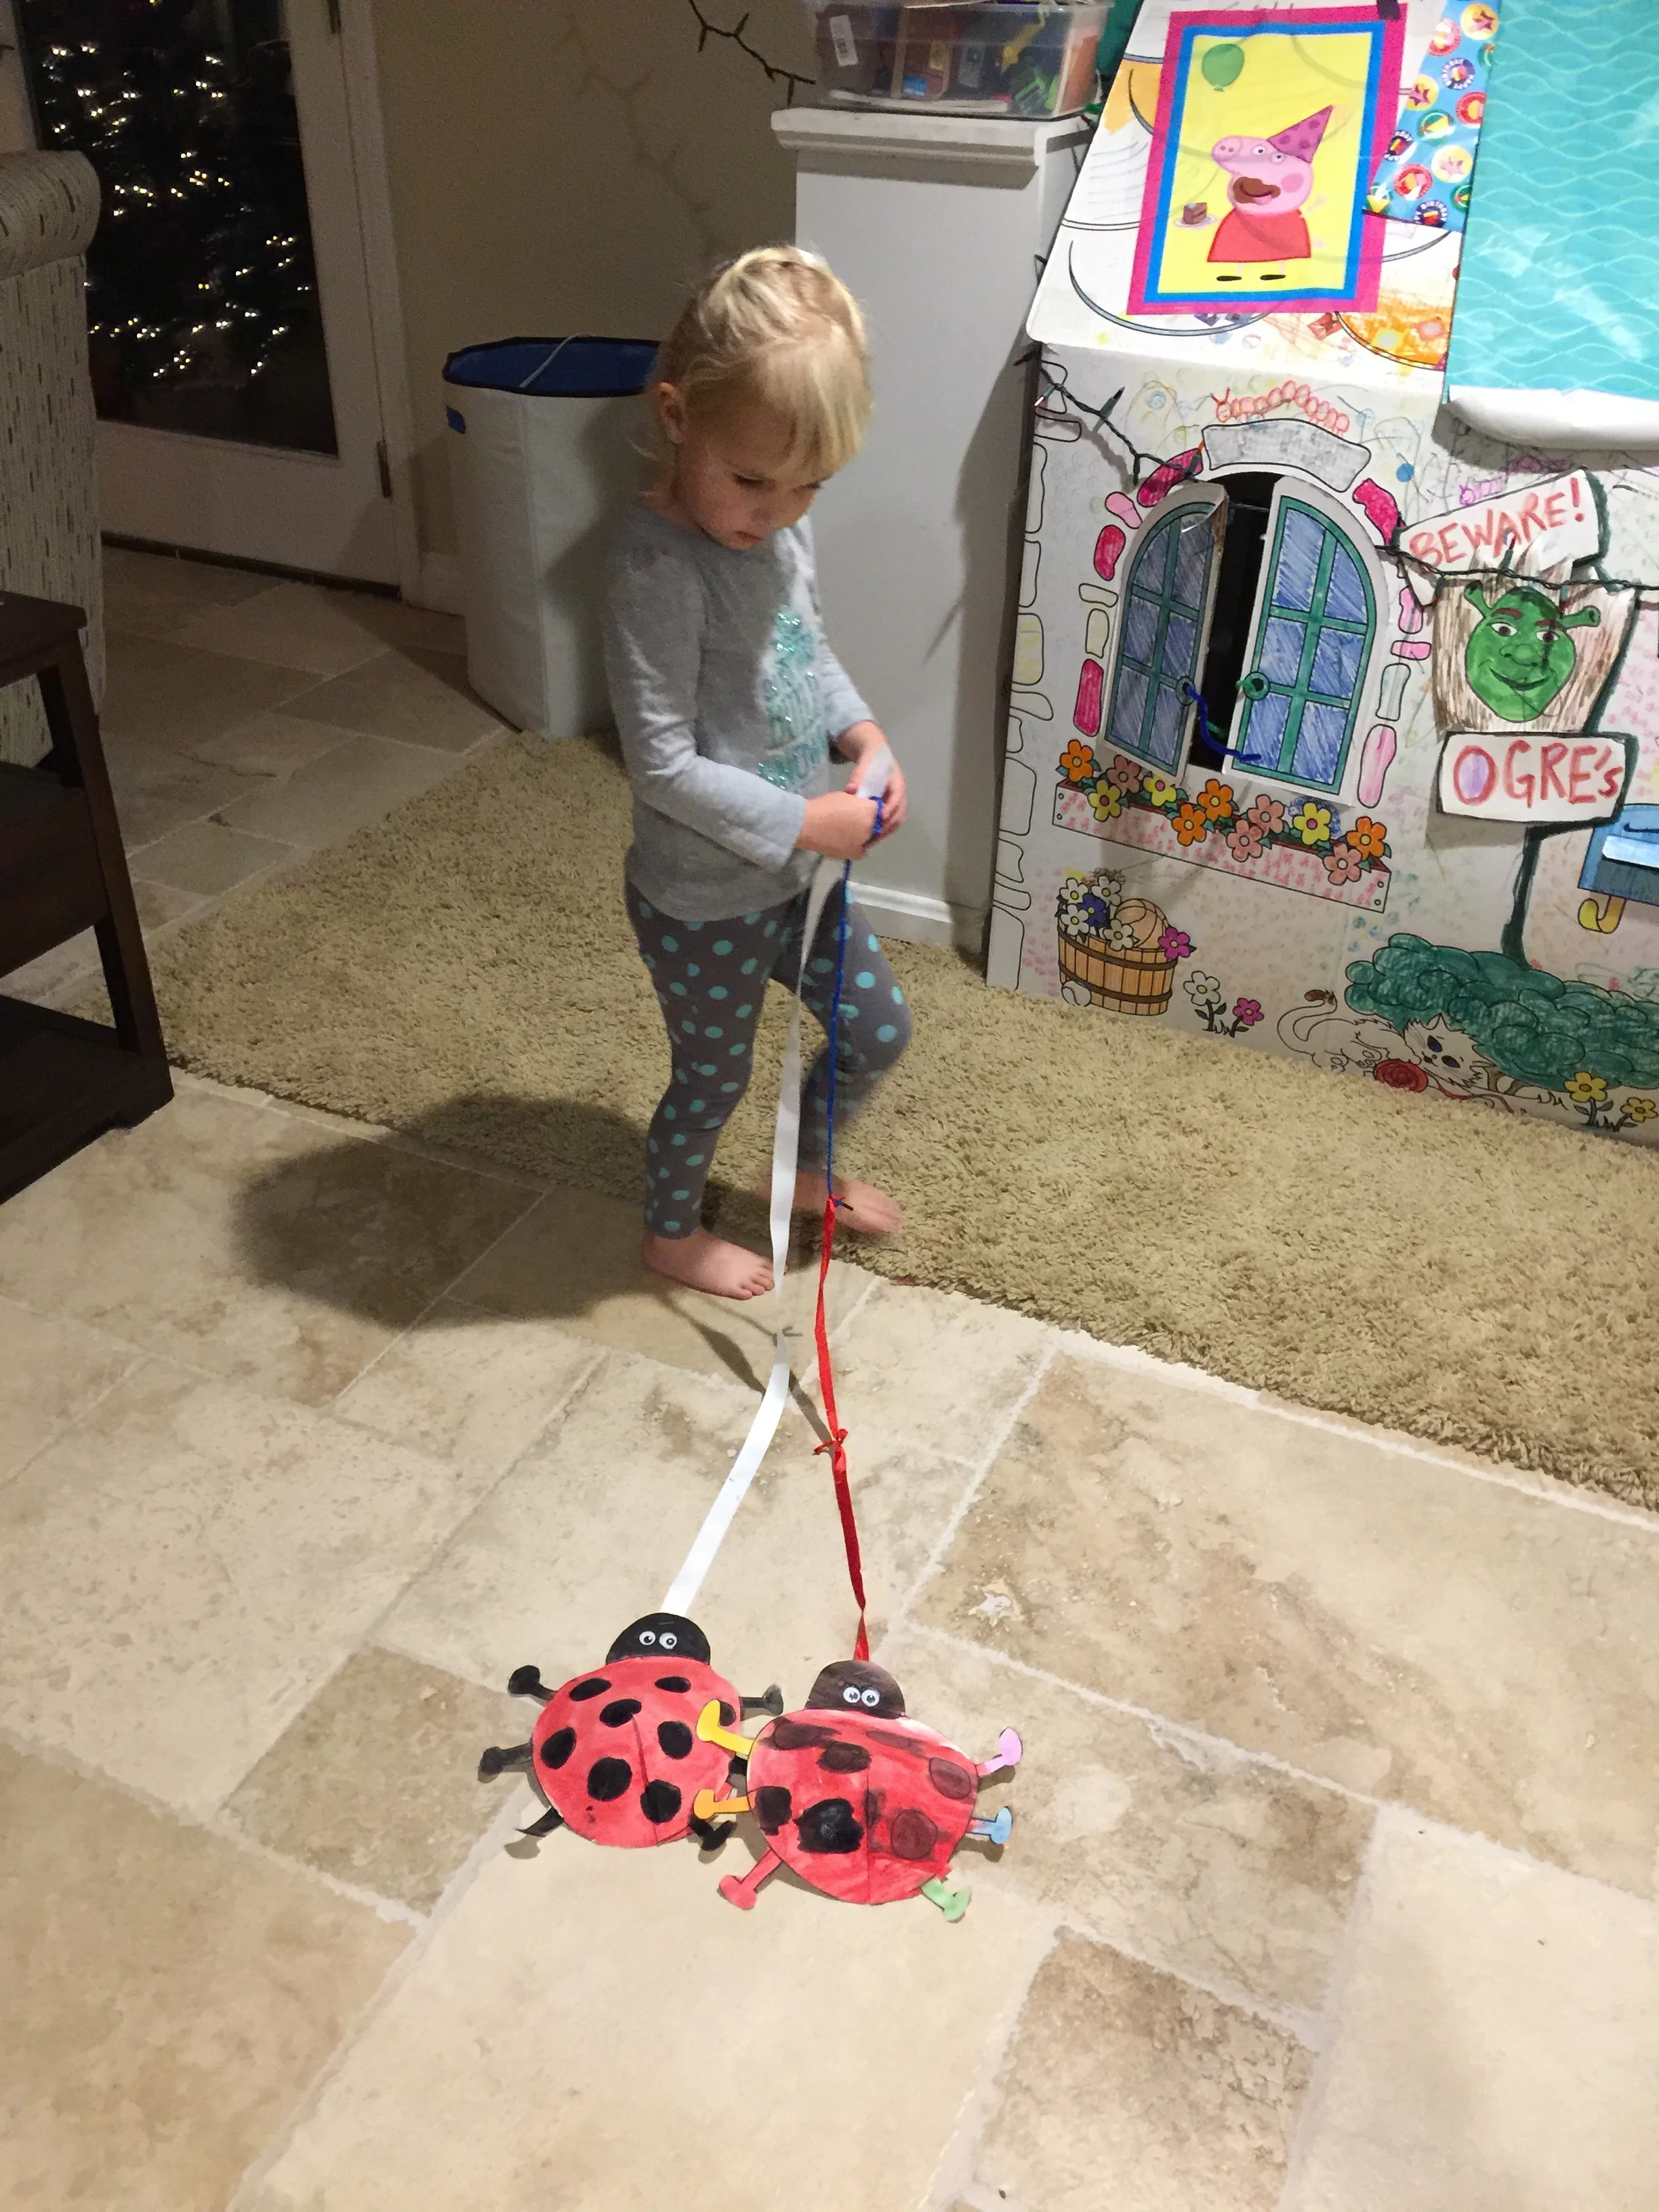
If your little one’s got a thing for ladybugs, then this art project is a must try! With only a few steps, you’ll be able to make a 3D ladybug for your toddler to pull around on a string all around the house. Our bugs are already proudly sitting on the table (safe from harm) ready to be played with after school.
This project has a special place in my heart too. When I was babysitting age, my mom - an elementary art teacher - gave me an easy art project to take with me to my babysitting jobs to keep kids busy. It was always a big hit! We used to make turtles, but it easily works for ladybugs too!
SUPPLIES
- Thick watercolor paper
- Watercolors
- Paintbrushes
- Scissors
- Stapler
- Glue
- Googly eyes
- String
- Sharpie
DIRECTIONS
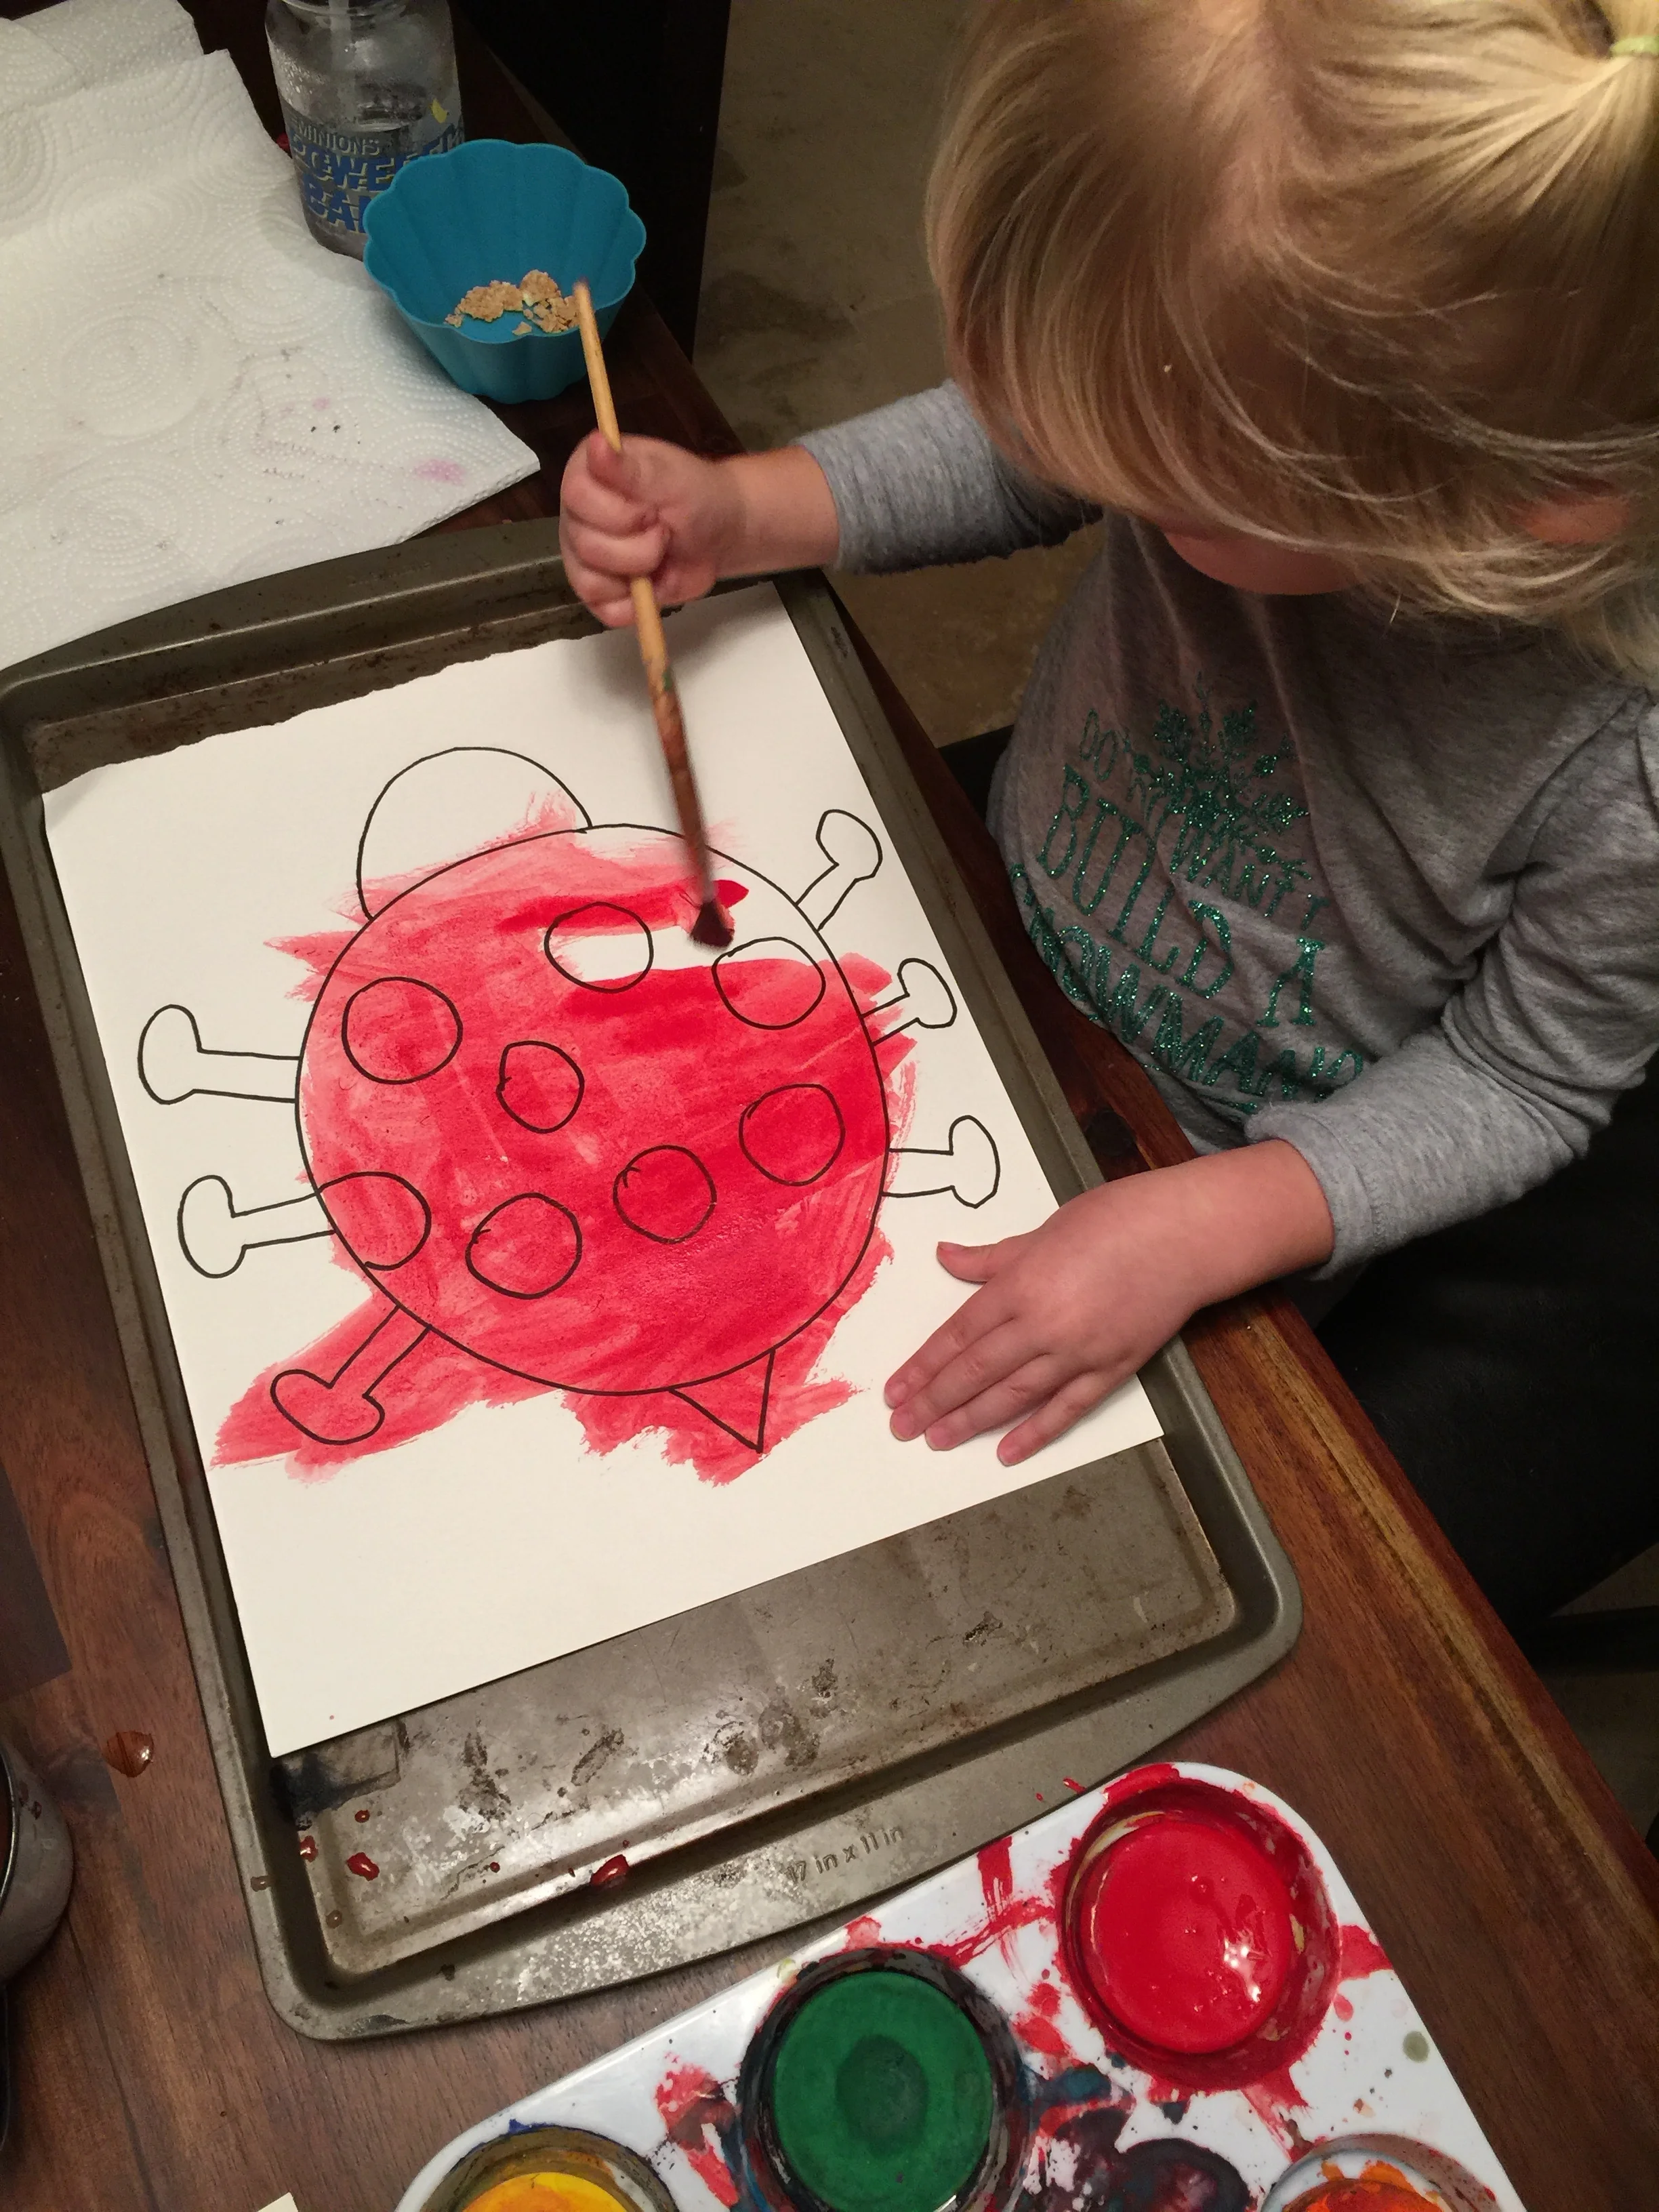
- First draw a simple outline of a ladybug on a thick, heavy watercolor paper with a Sharpie.
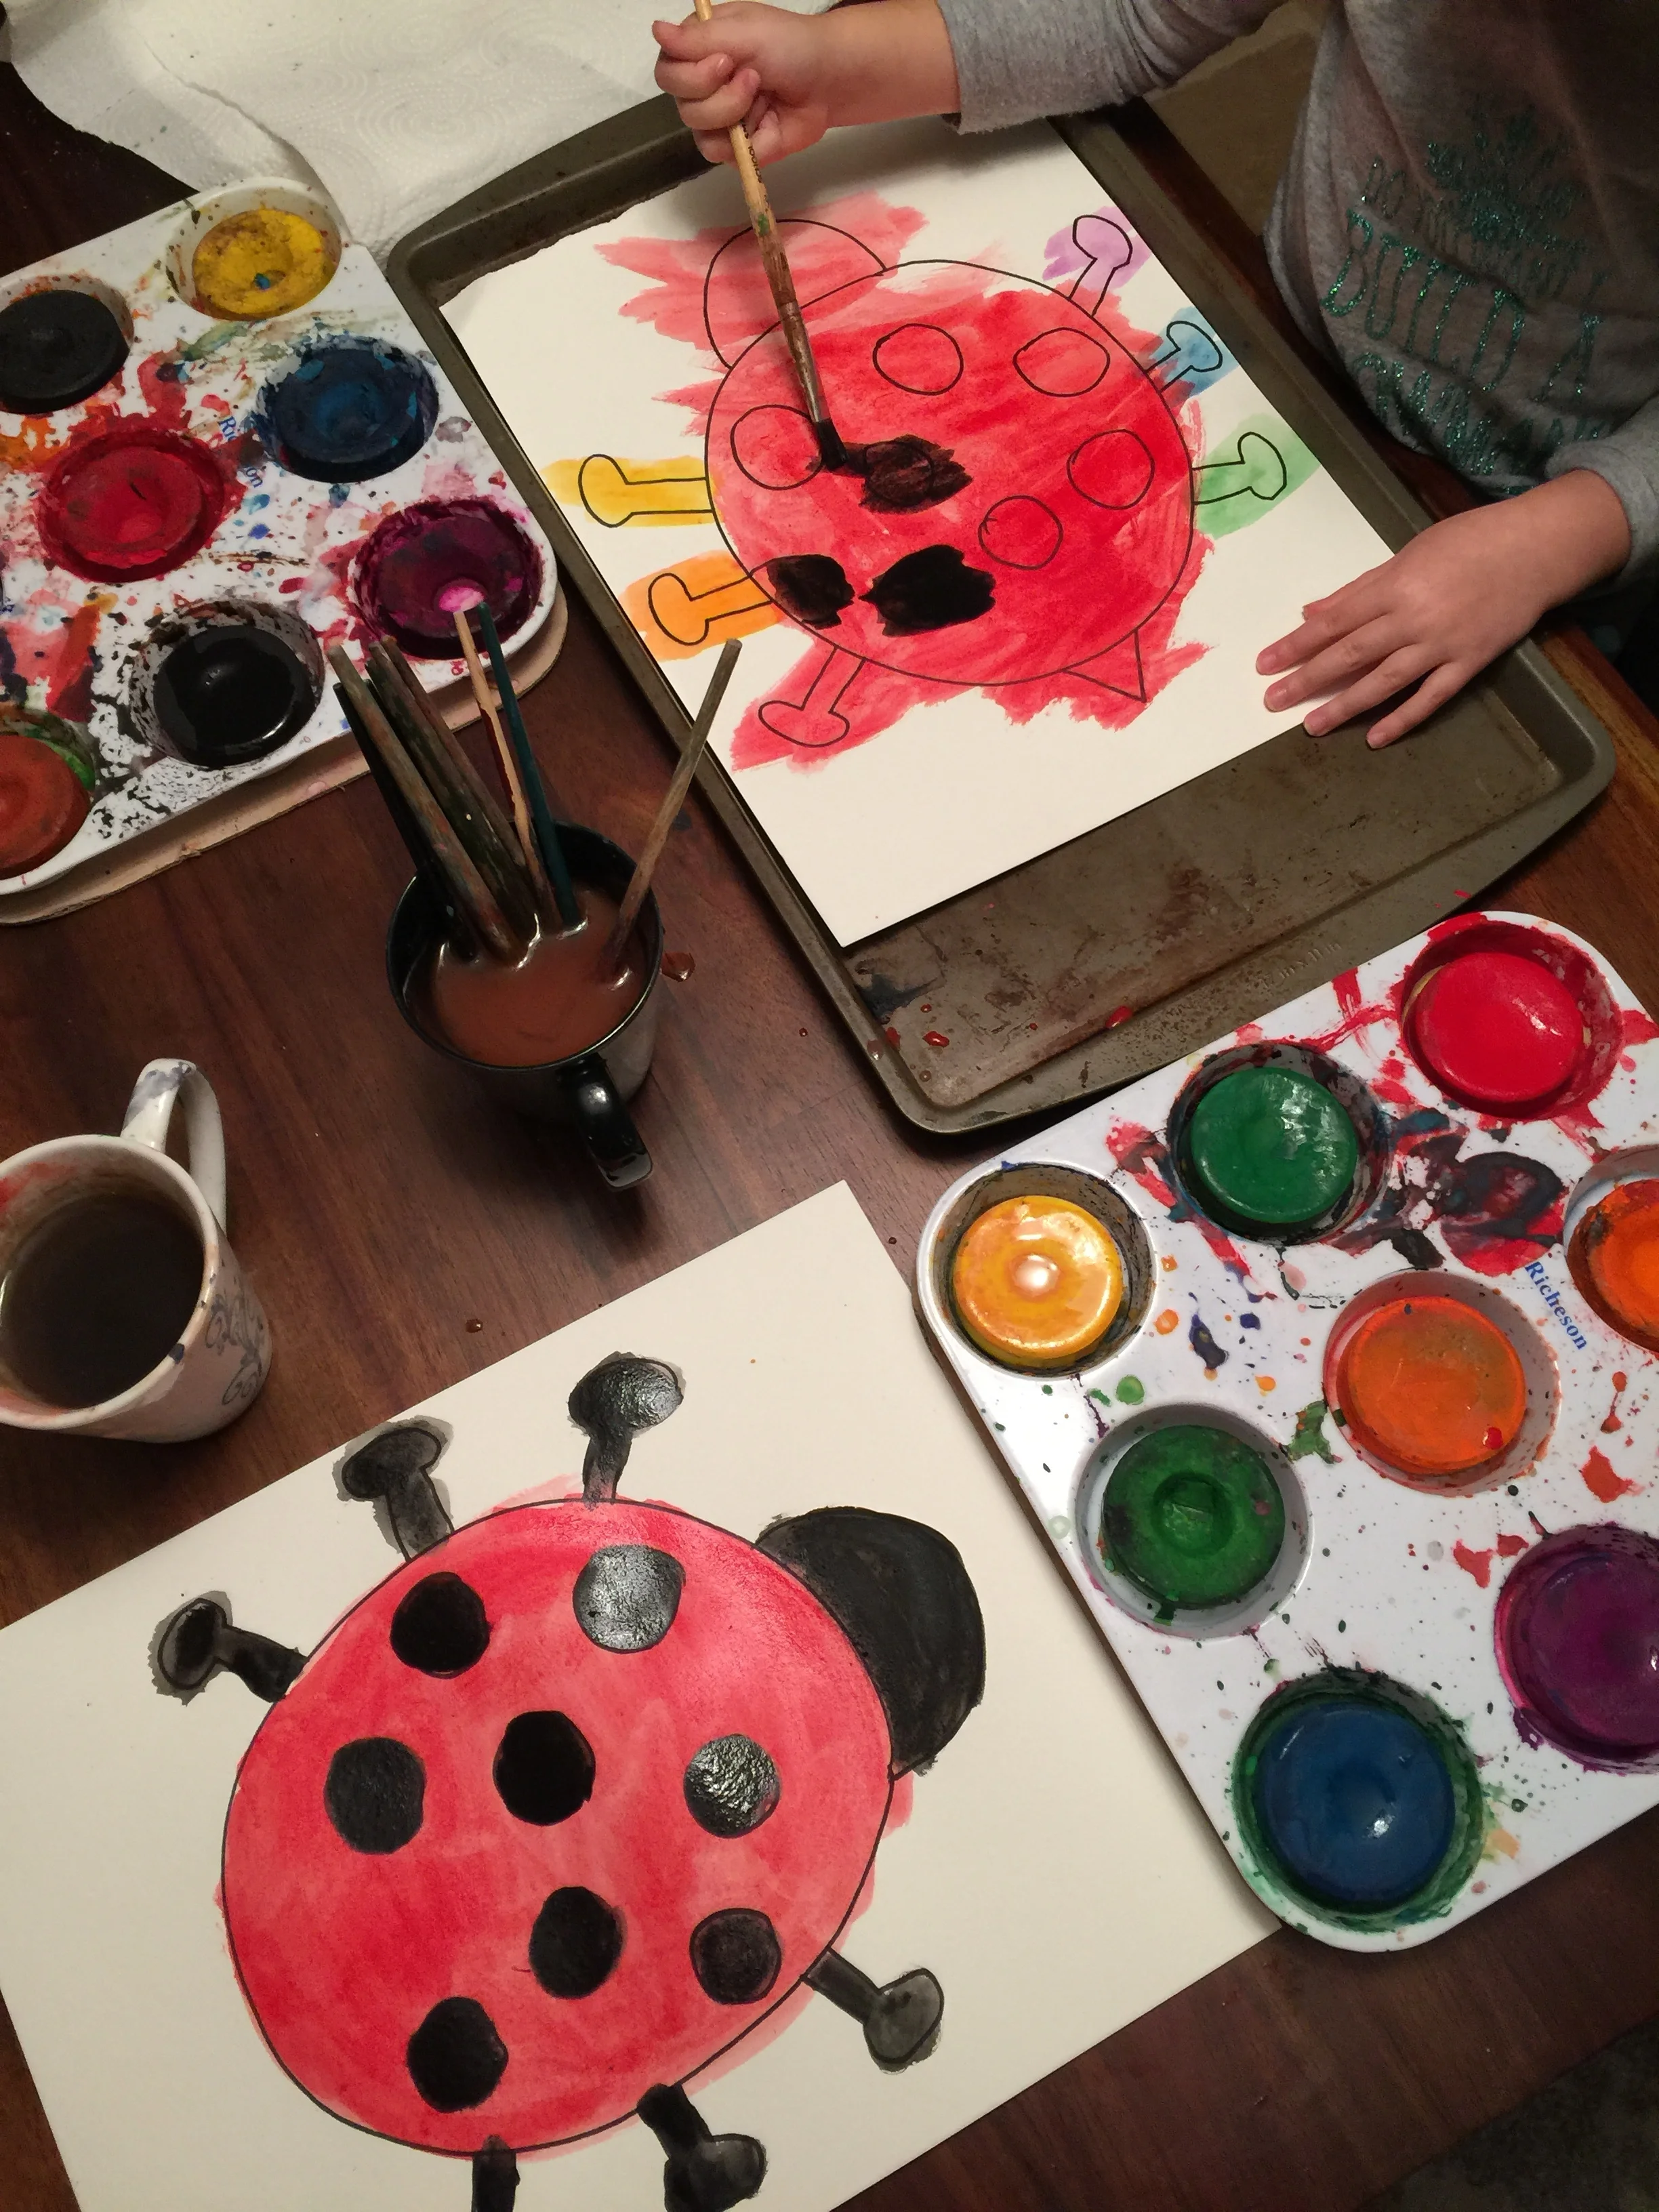
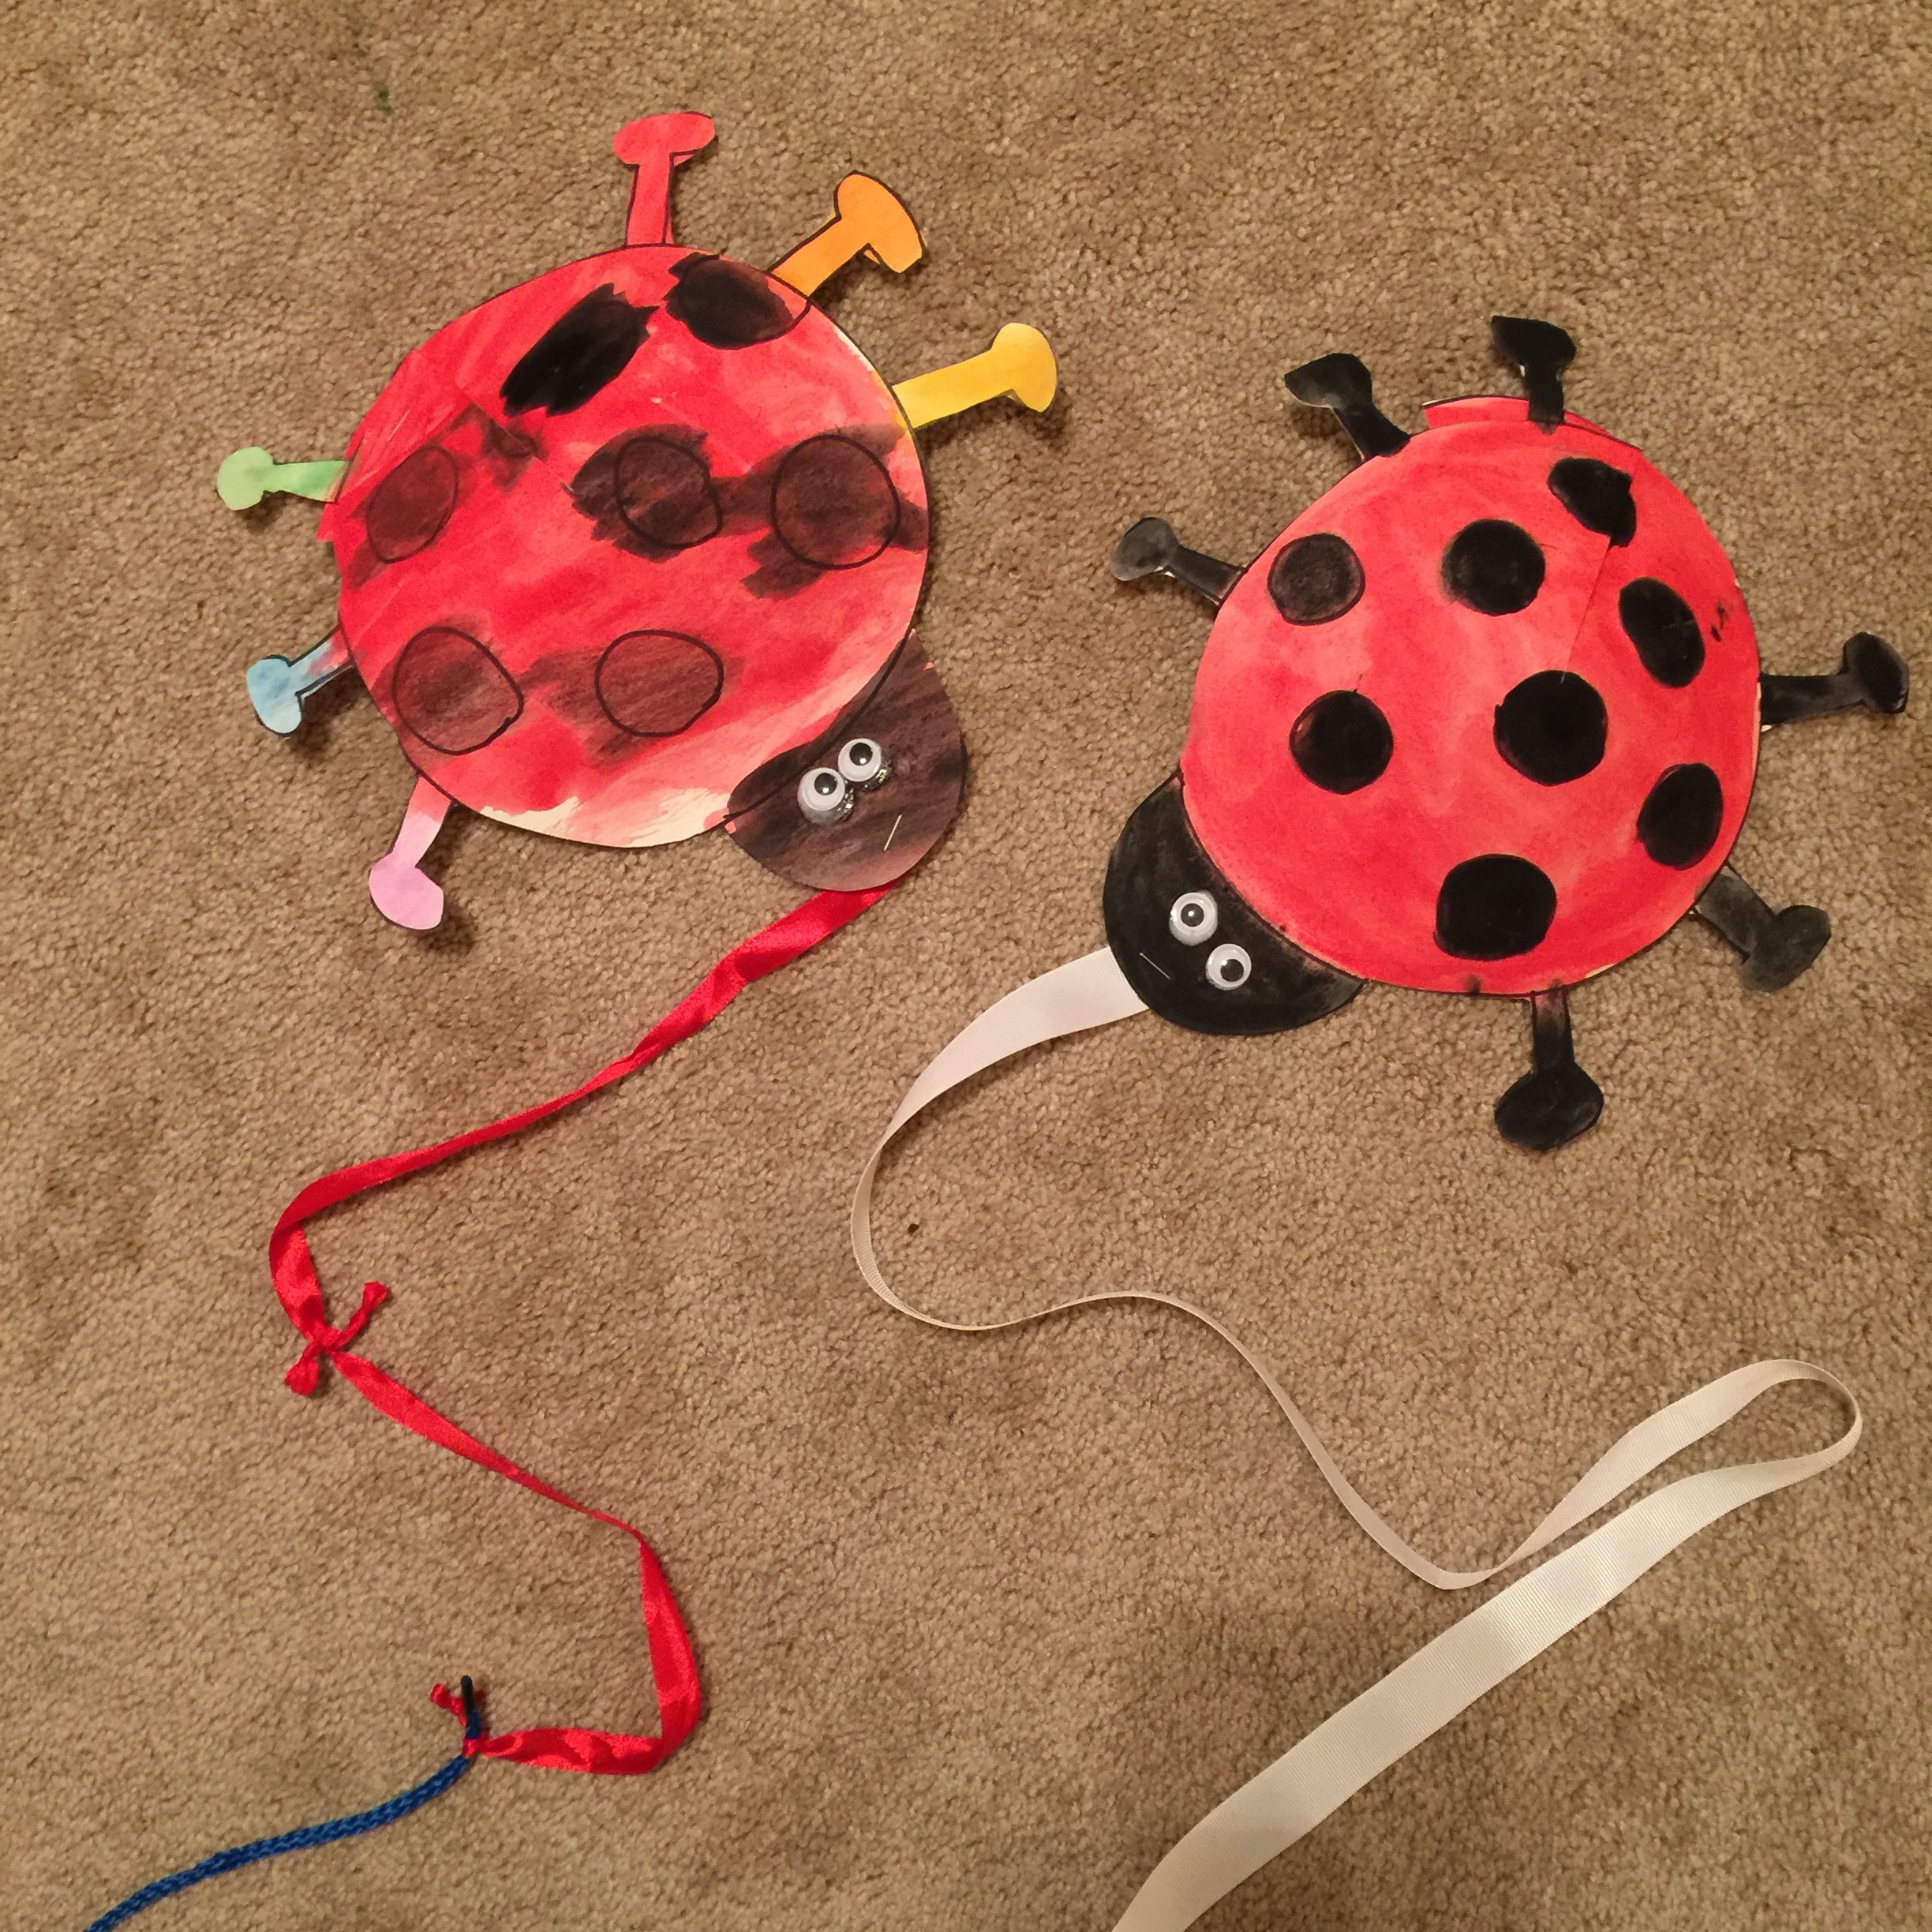
- Let your child paint in the ladybug any way they want. My daughter went with rainbow feet, a very cool addition!
- Once dried, glue on some googly eyes for a little character. TIP: Hit up the local Dollar Store for supplies – they have everything you need!
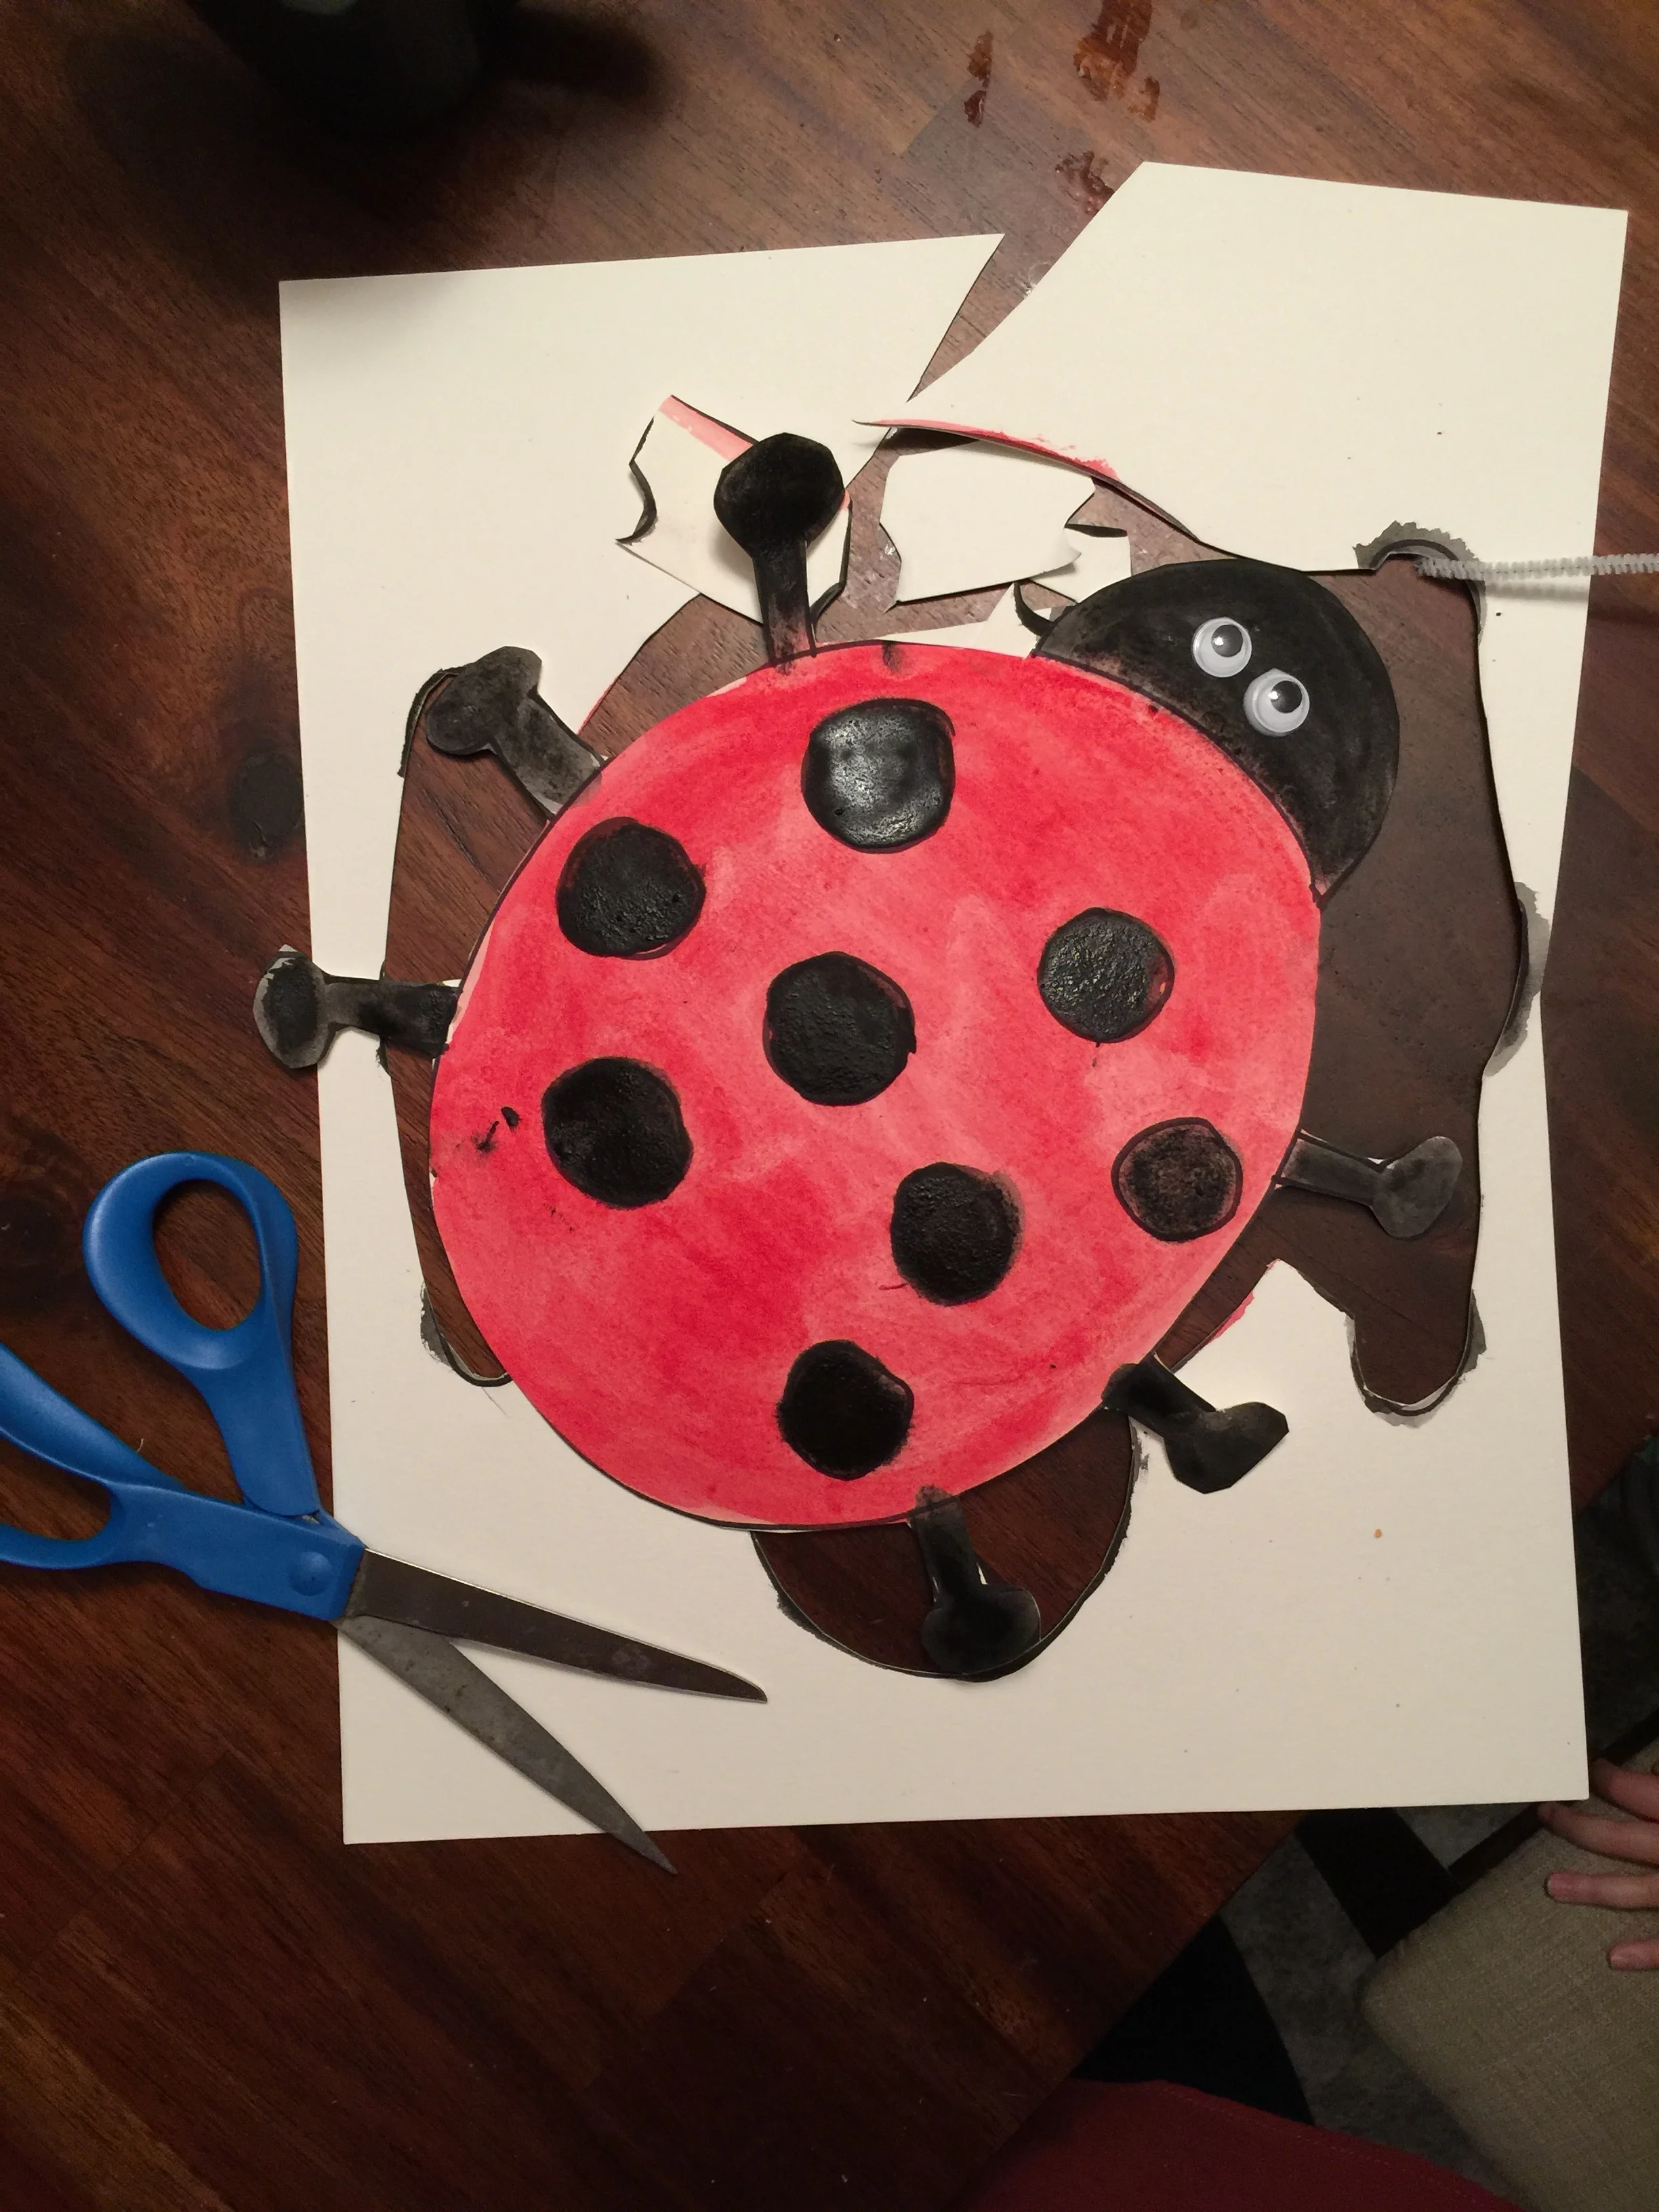
- Cut out the ladybugs.
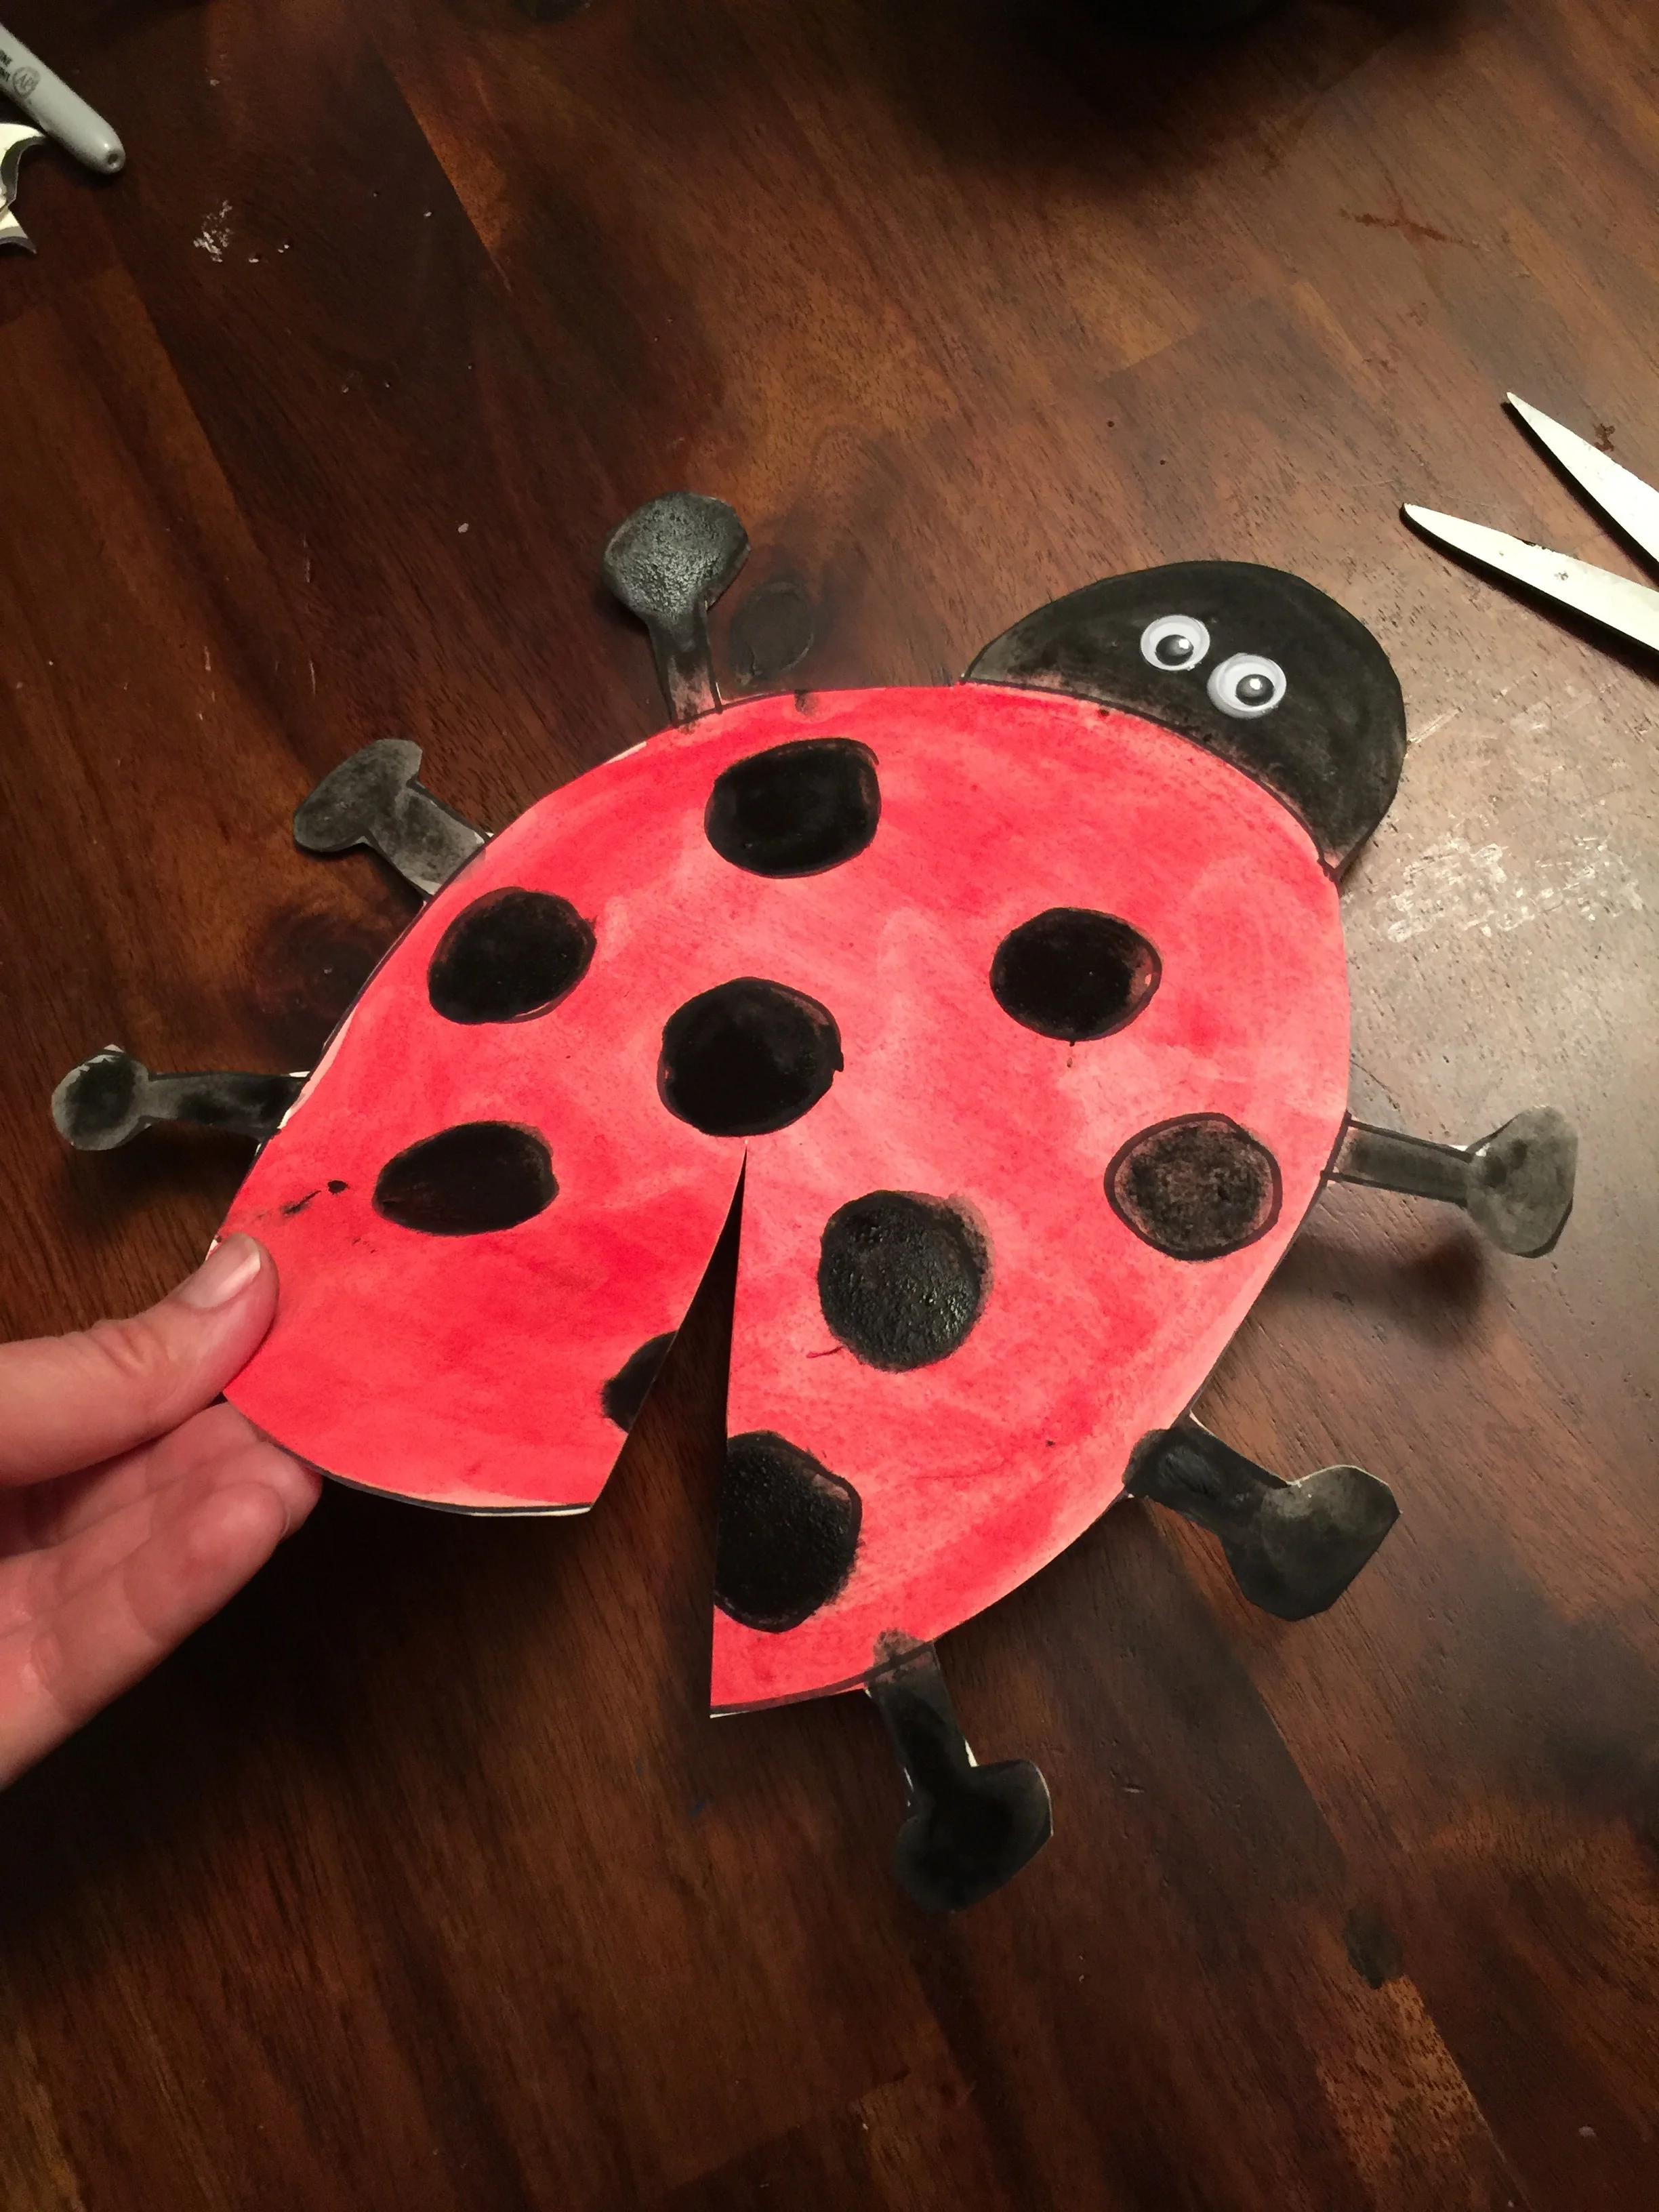
- Make one cut up the middle of the ladybugs back to the center of its shell. (see picture as an example)
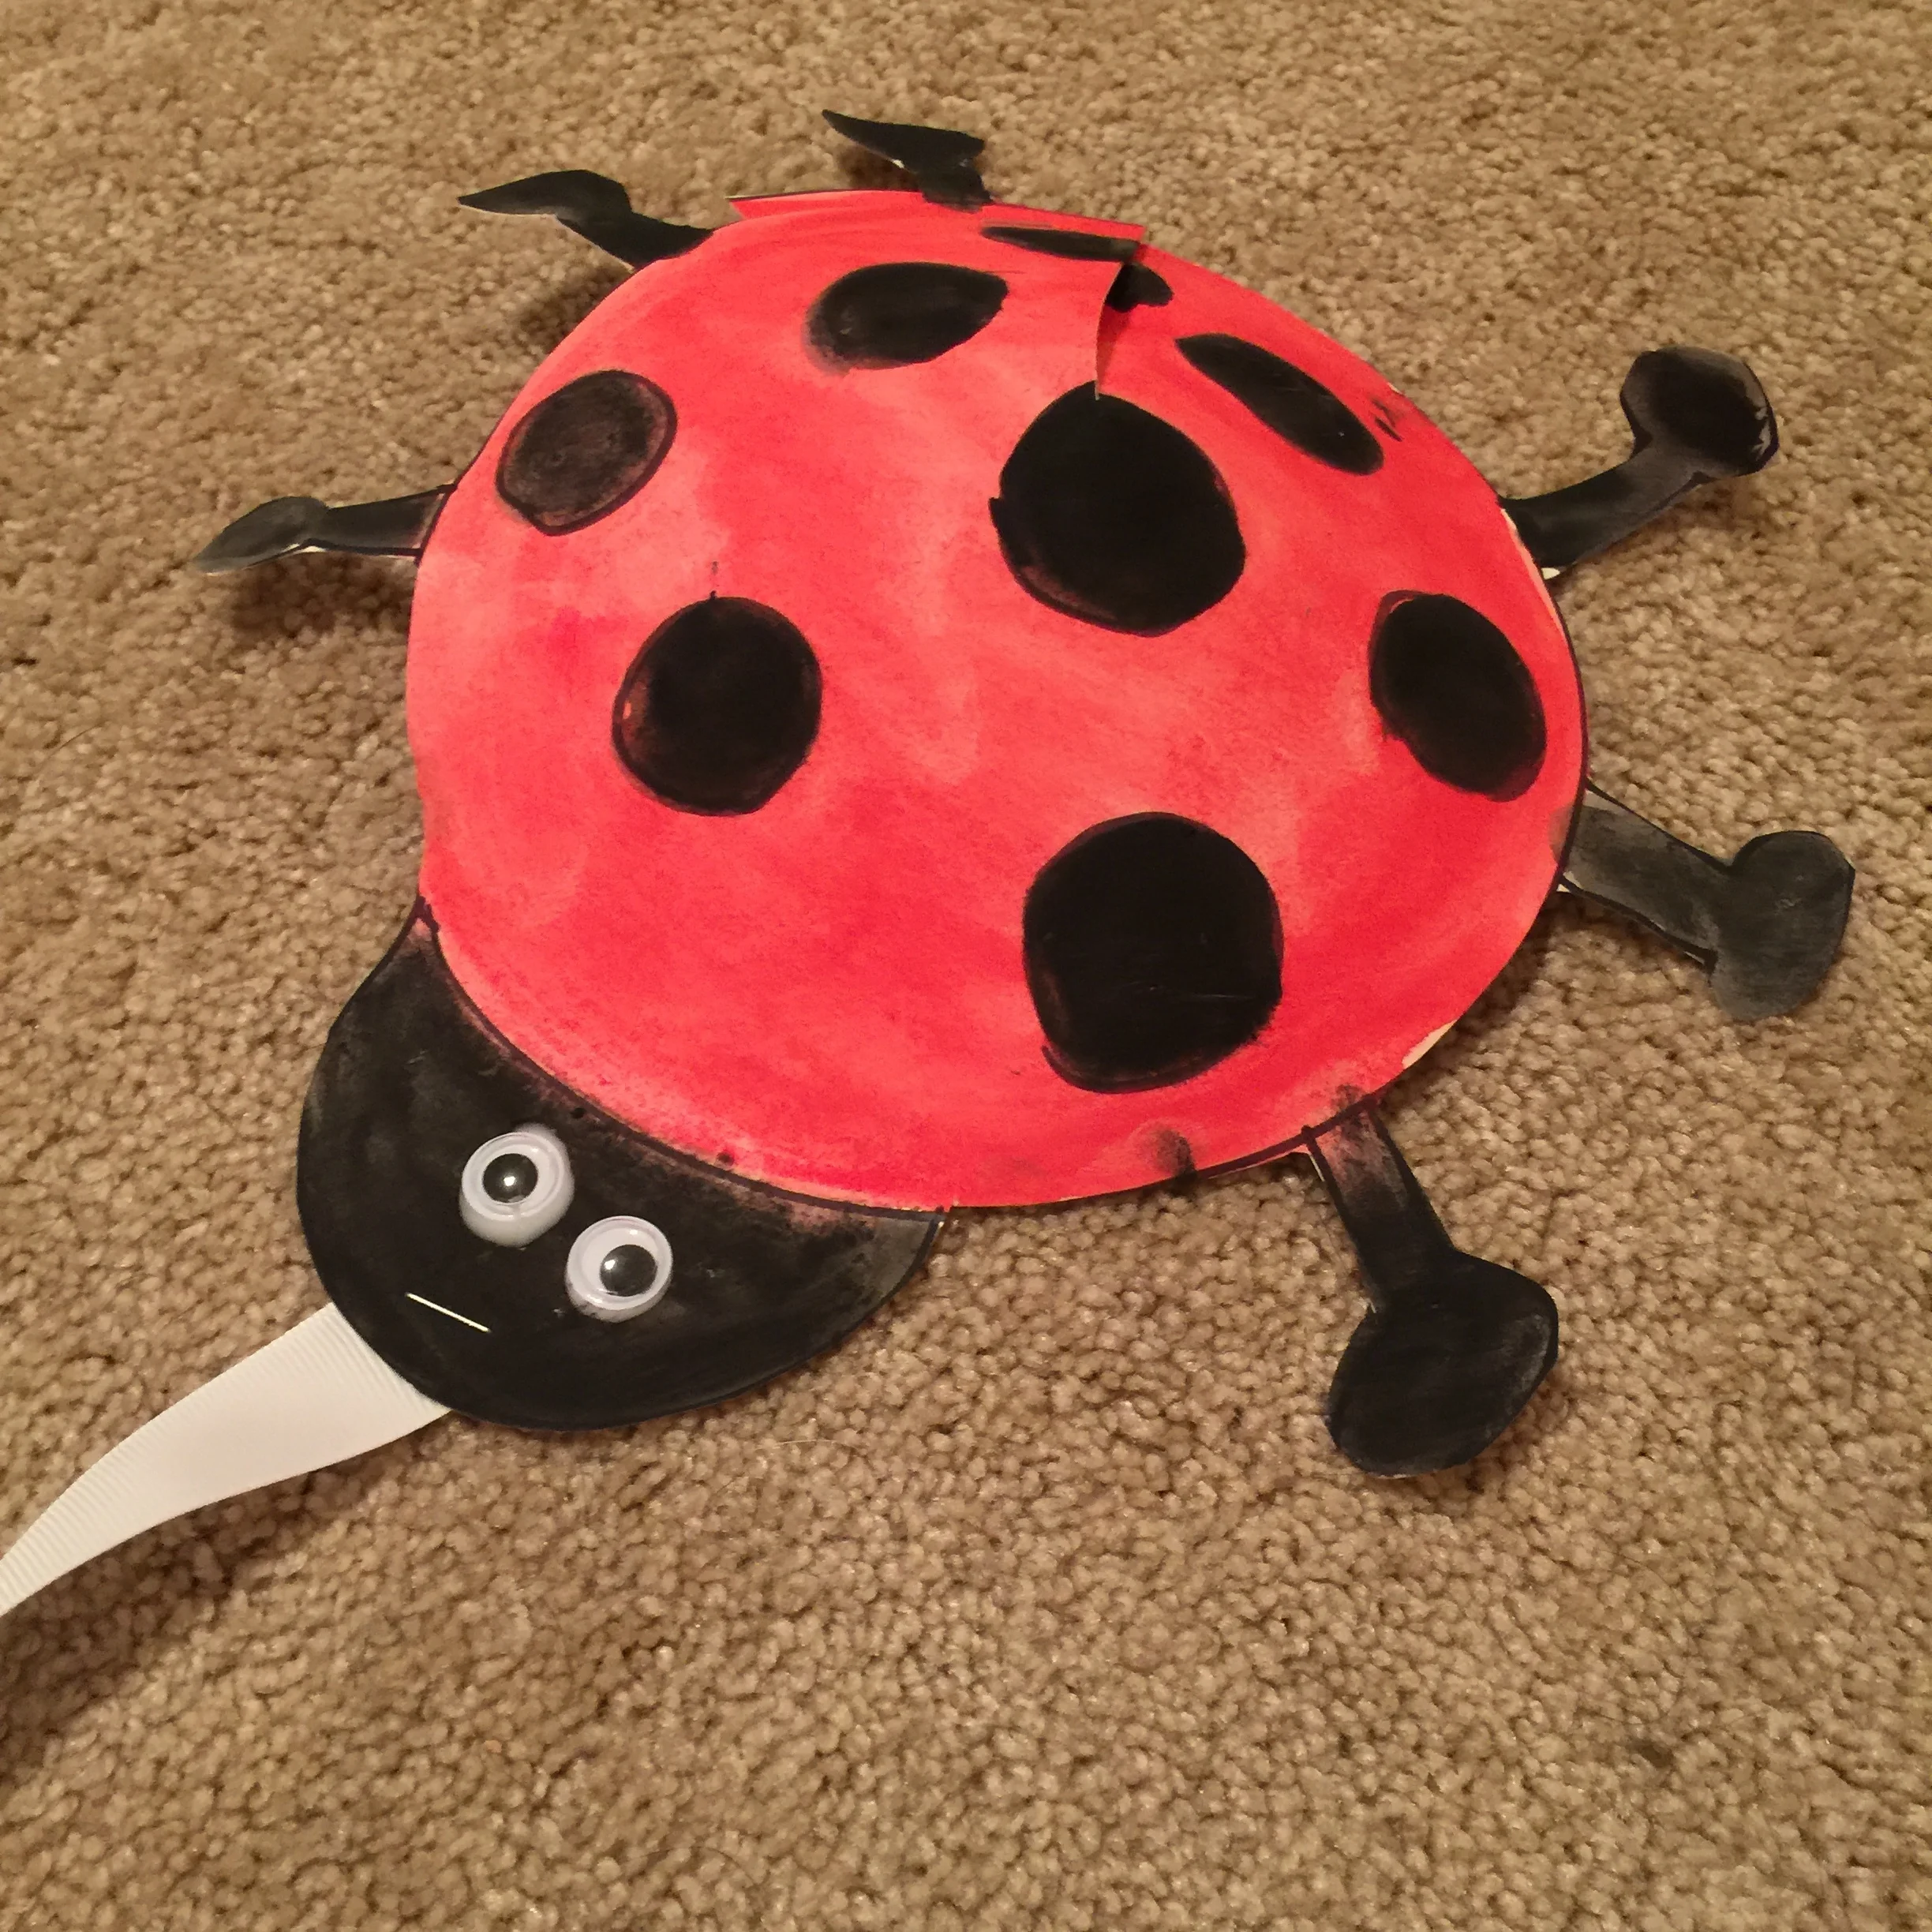
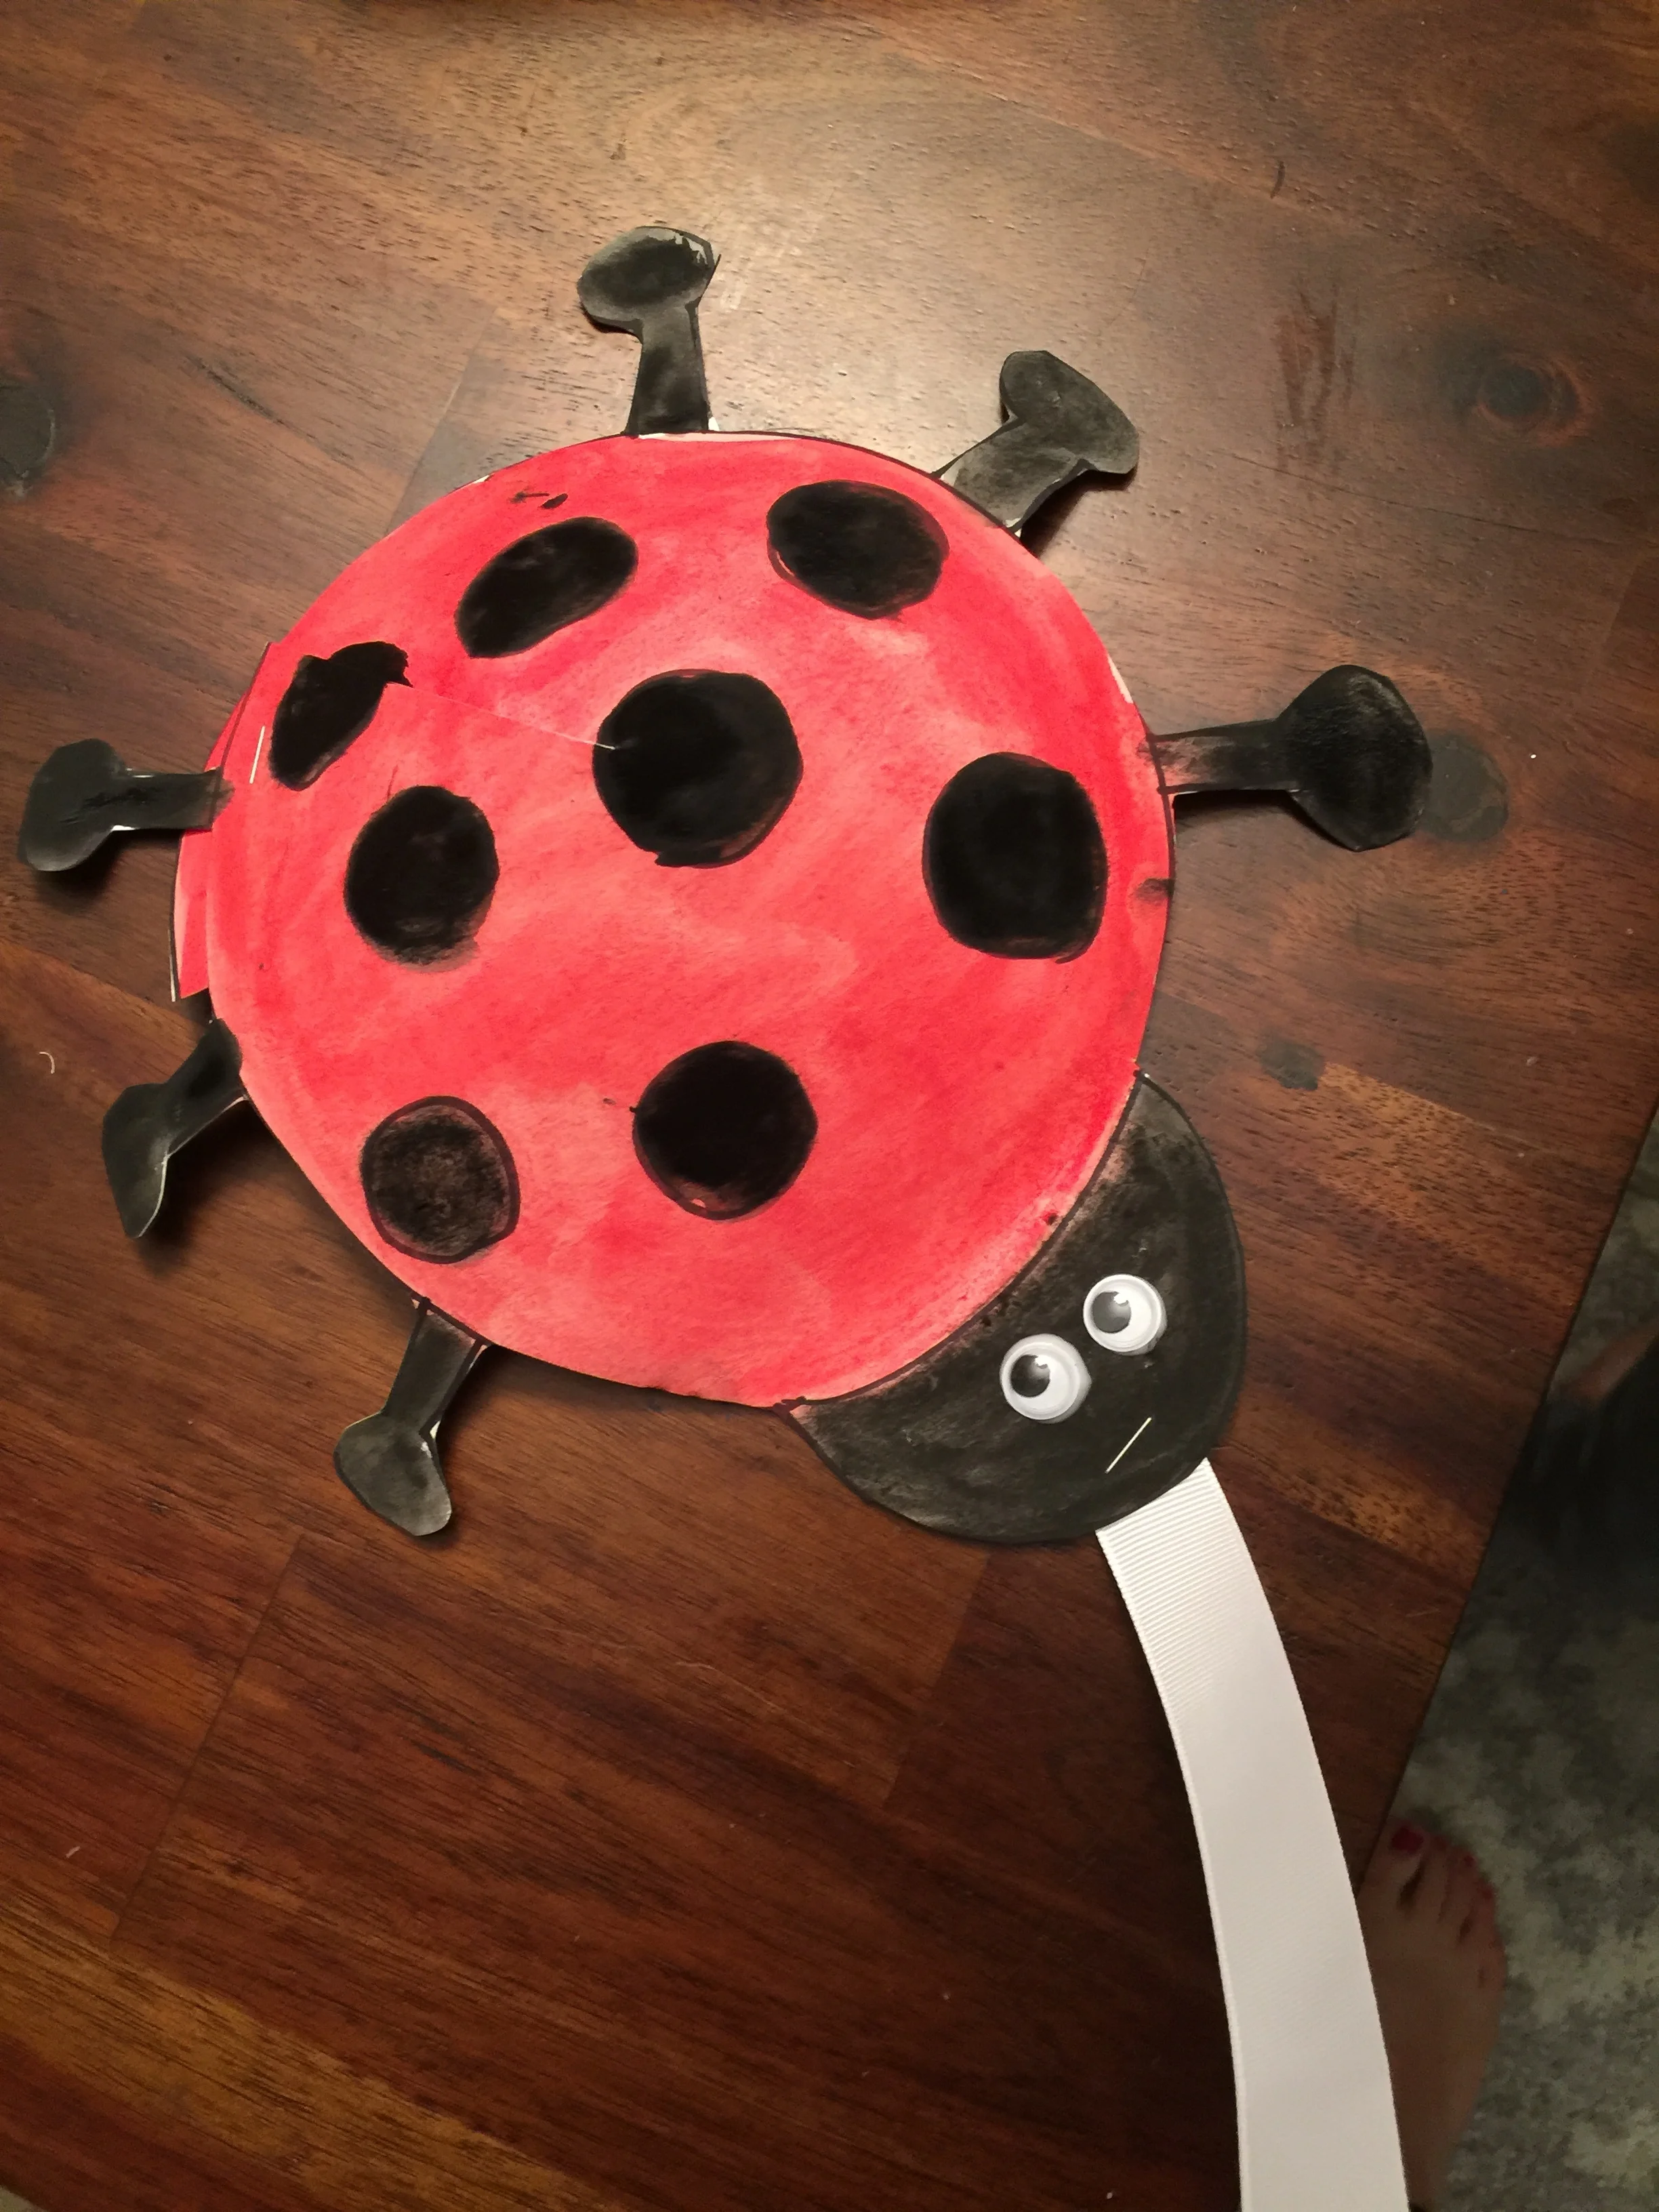
- Pull the pieces of the paper together so it makes a cone-like shape and staple together. It will create a 3D effect of the ladybug’s back, and look like he’s coming alive!
- Staple a string to the head of the ladybug so your little one can pull it around the house.
- Next time try the turtles – they’re just as cute!

