Salt Dough Ornaments
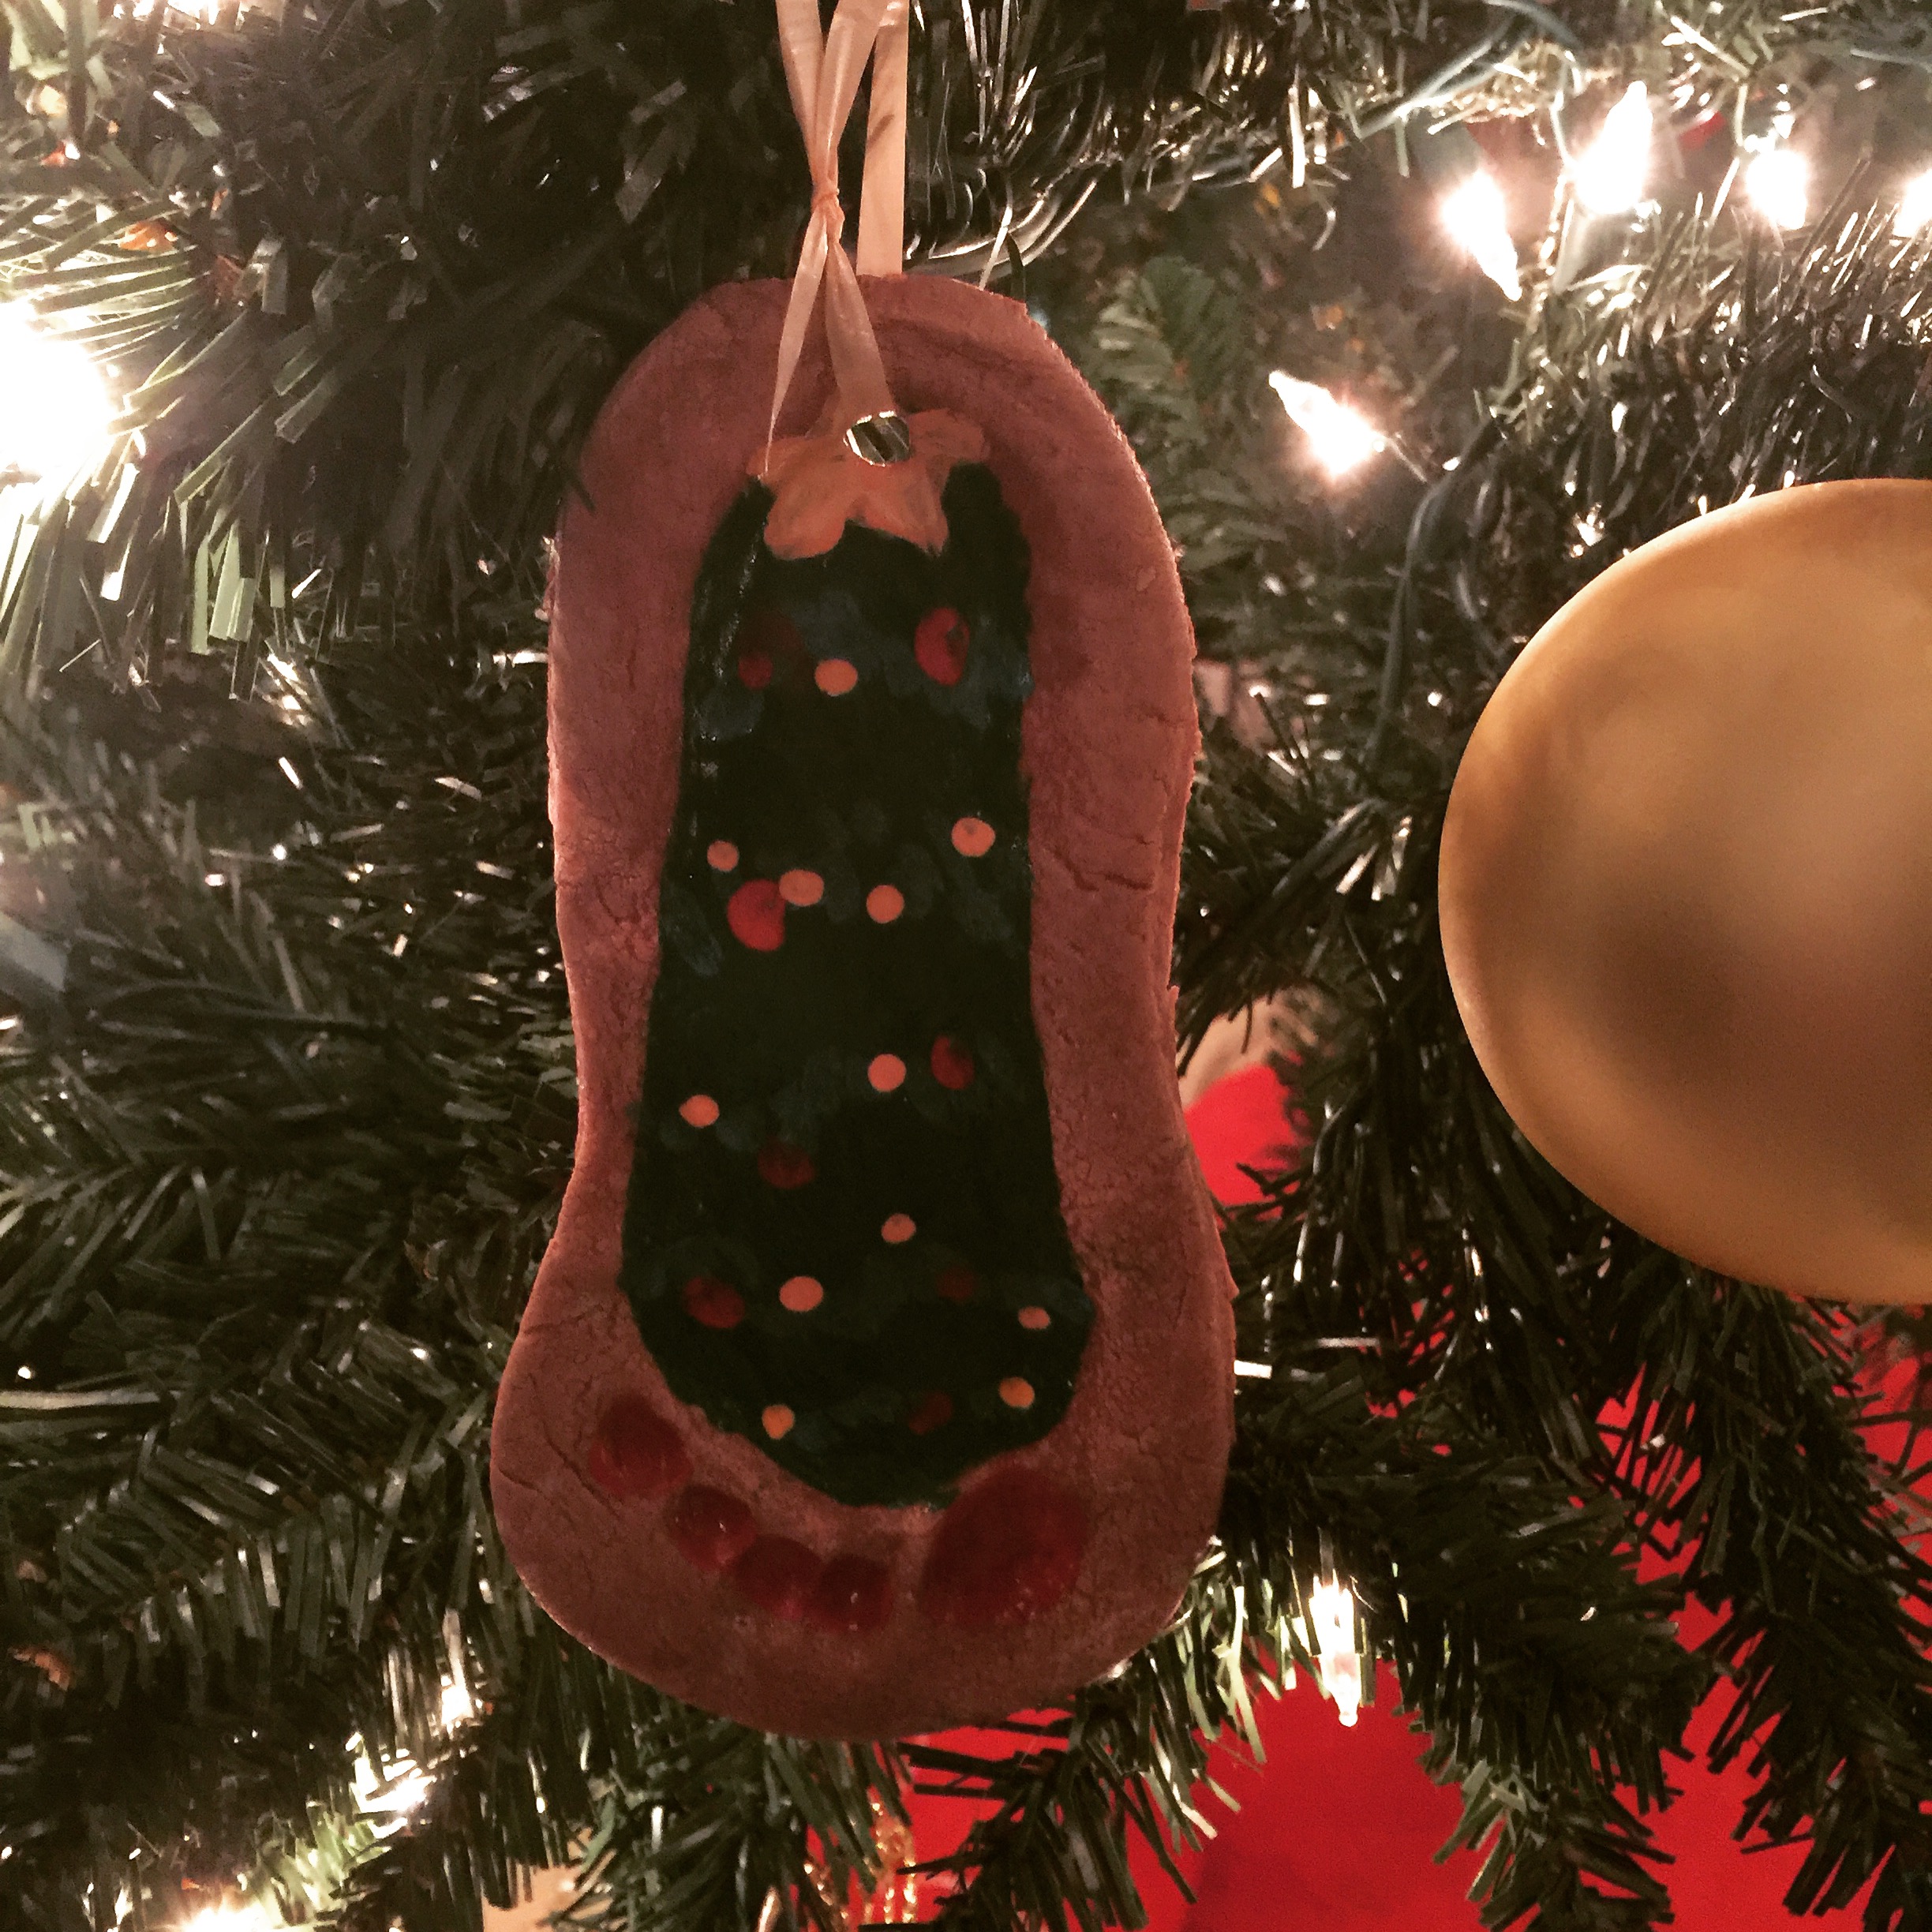
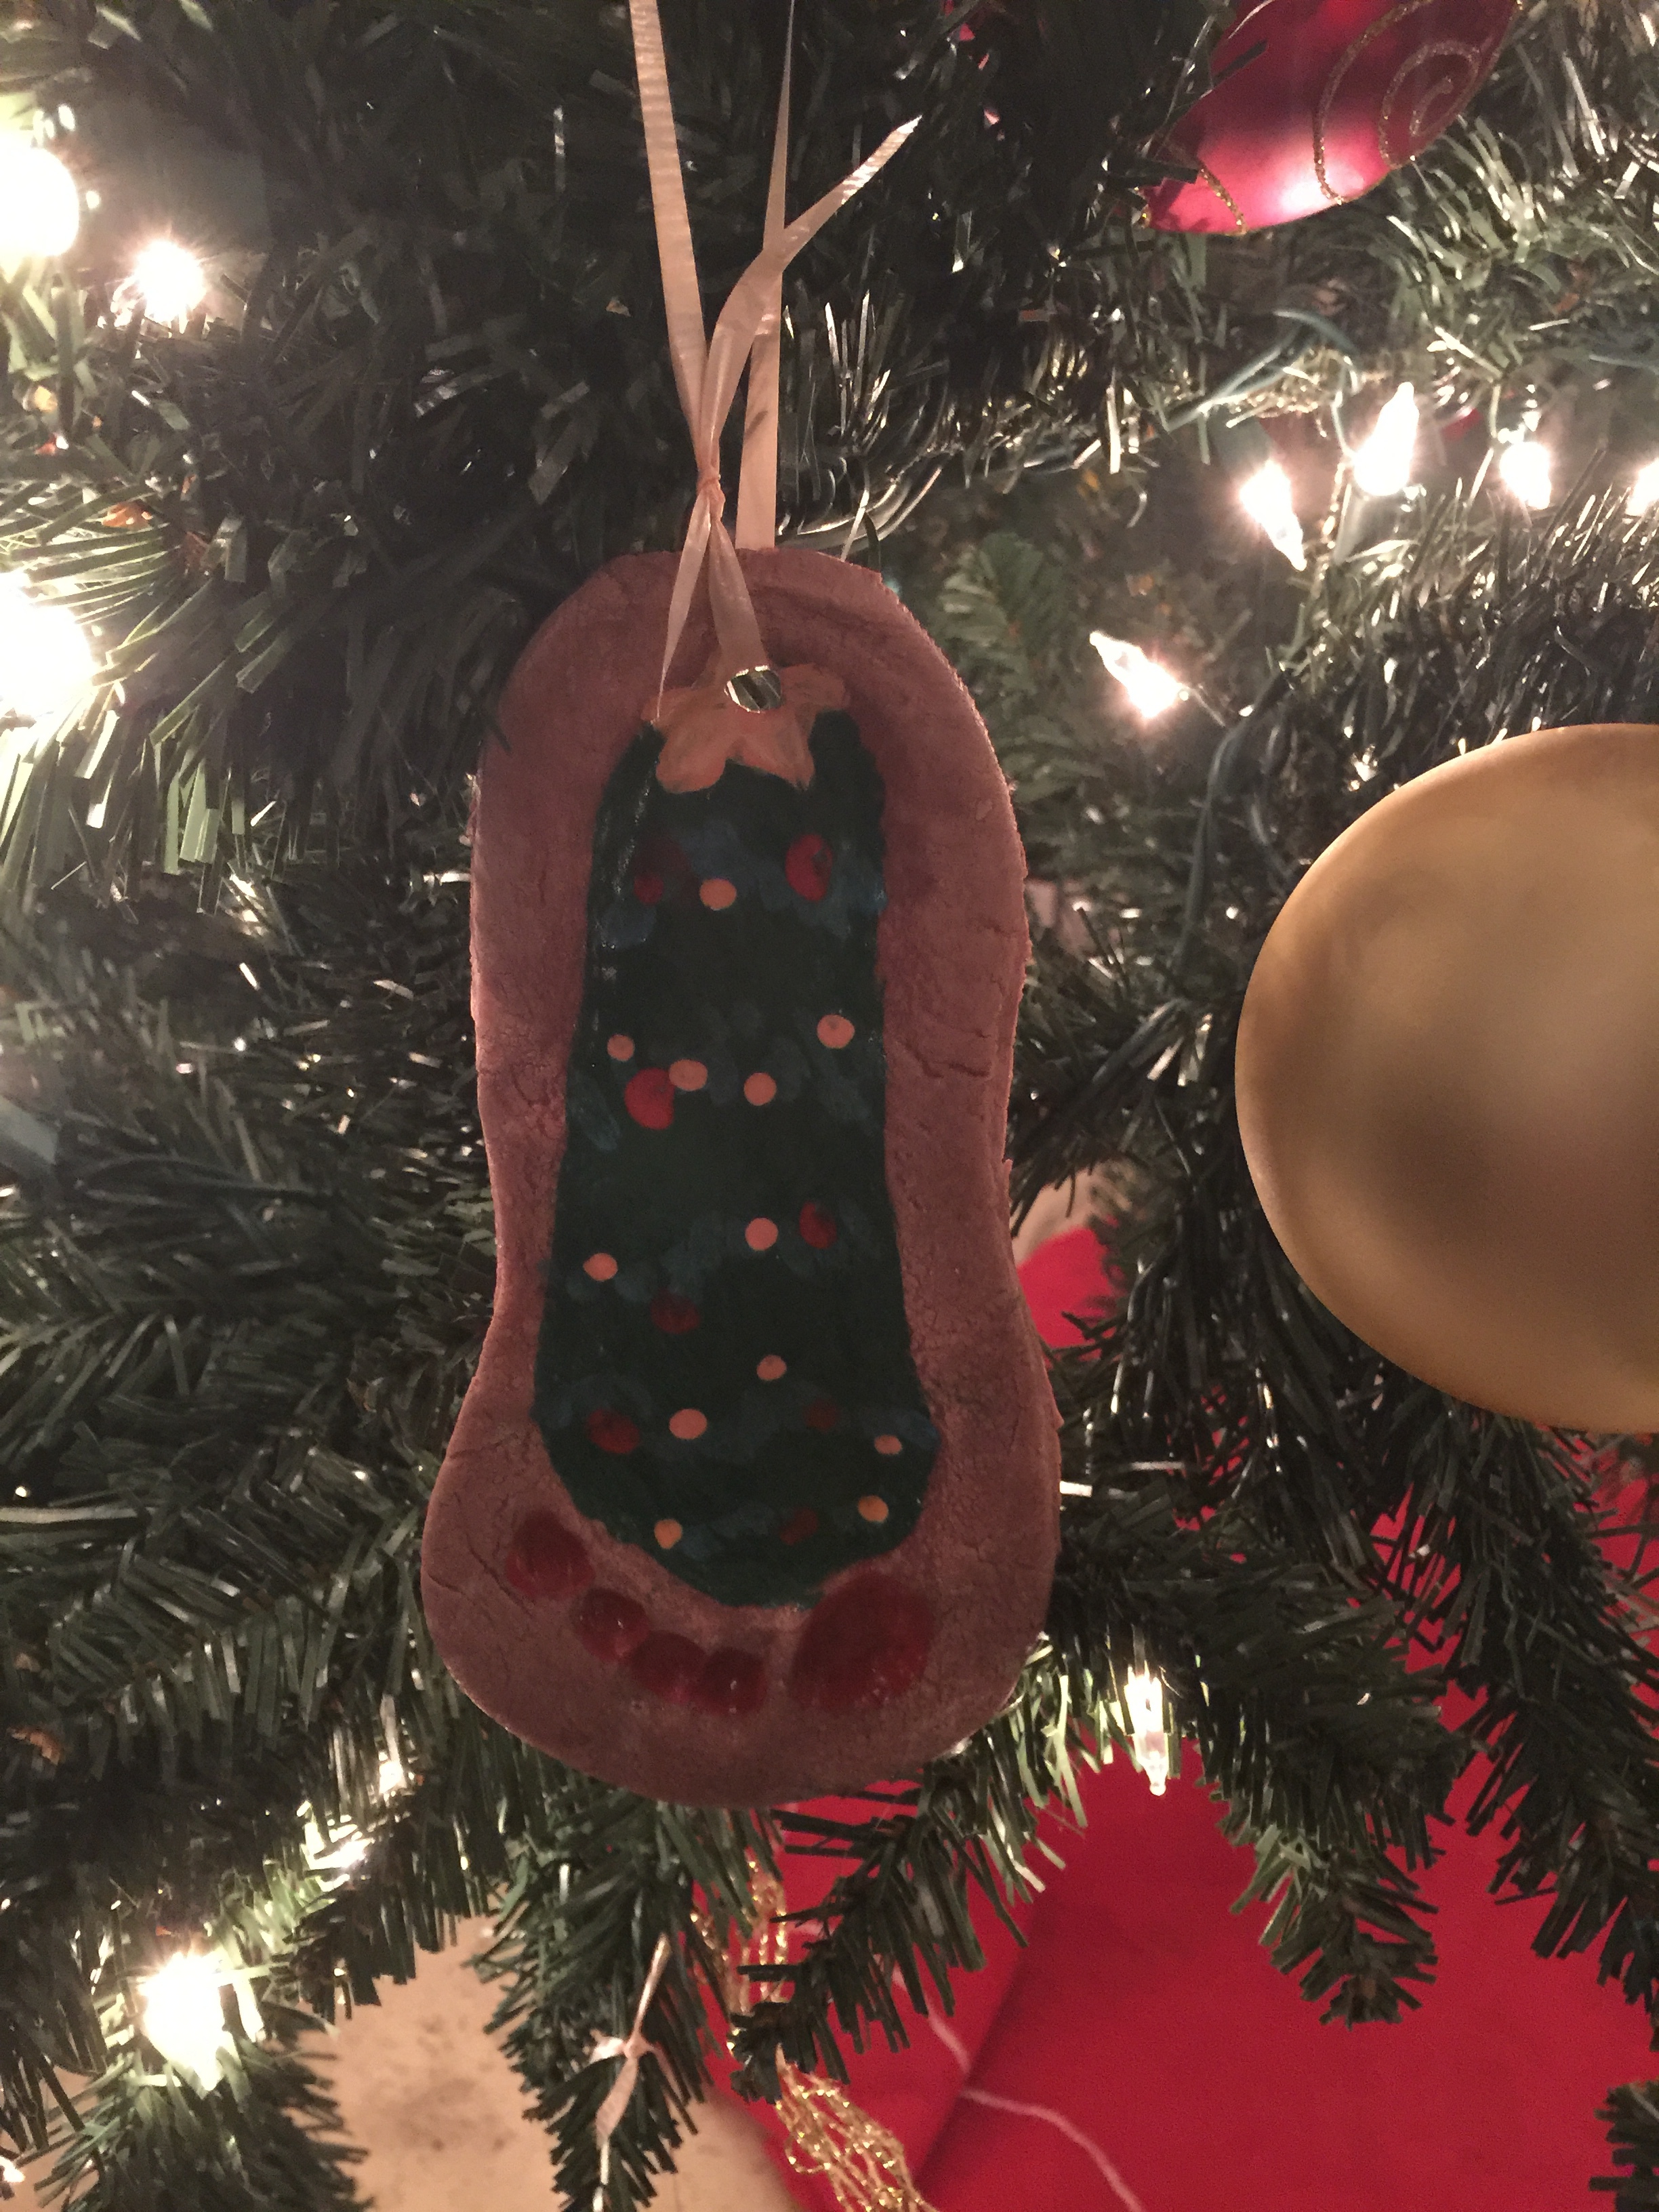
There’s nothing better than a little bit of personality on the Christmas tree. And when your kids are little, it’s so neat to be able to preserve a little bit of that adorableness in a handprint or footprint. Salt Dough Ornaments are the perfect way to do that – and they’re really fun to make too! Perfect for toddler age, so they can do the activity with you, but also great for babies so you can turn those sweet little toes into a Christmas tree or reindeer.
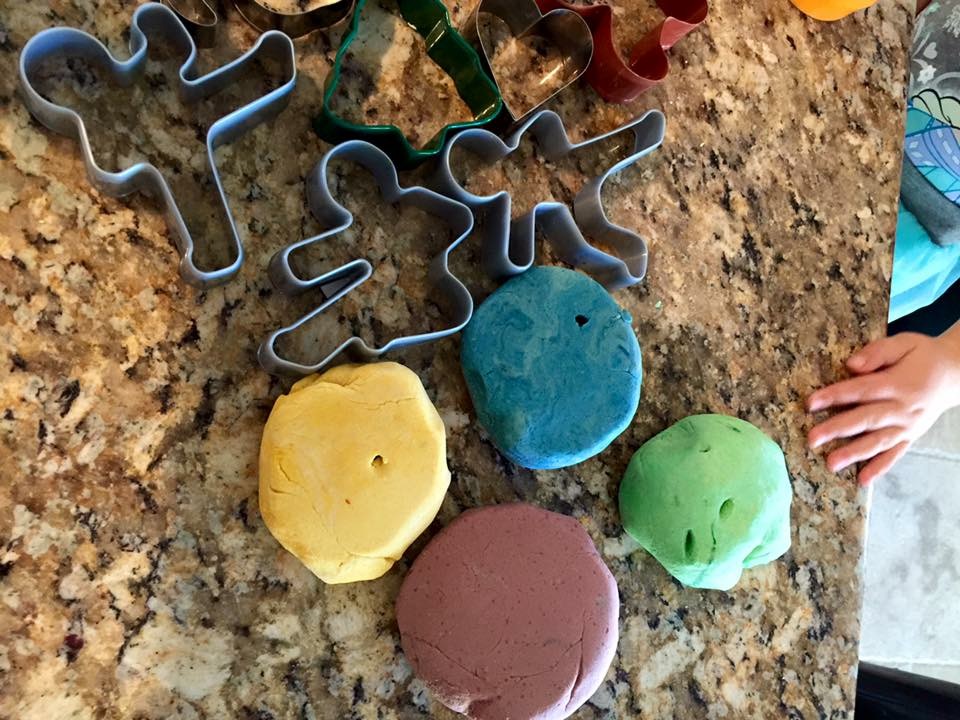
These are so easy to make because most of the ingredients can be found right in your pantry – and art cabinet! We made a large amount of dough so we could have room for failure, and they also make great gifts for Grandmas and Grandpas.
INGREDIENTS
- 1 cup salt
- 2 cups flour
- 1 cup water
MATERIALS
- Acrylic paint
- Paintbrushes
- Ribbon
- Food coloring
DIRECTIONS
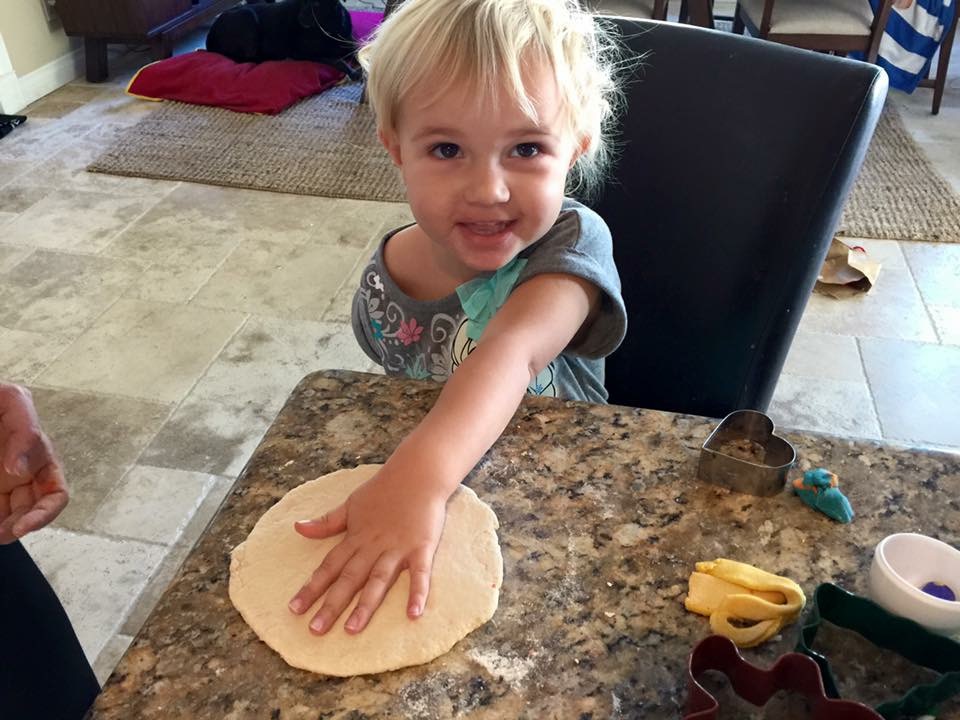
1. In a mixing bowl, combine the salt and flour, and then start adding the water. You might not need the full cup of water, or you might need a little more. Just depends on the consistency. You want your dough to be well mixed, but not too sticky or wet. Just like homemade playdough. Knead away until it’s a smooth dough ball. Your child will love helping with this part too!
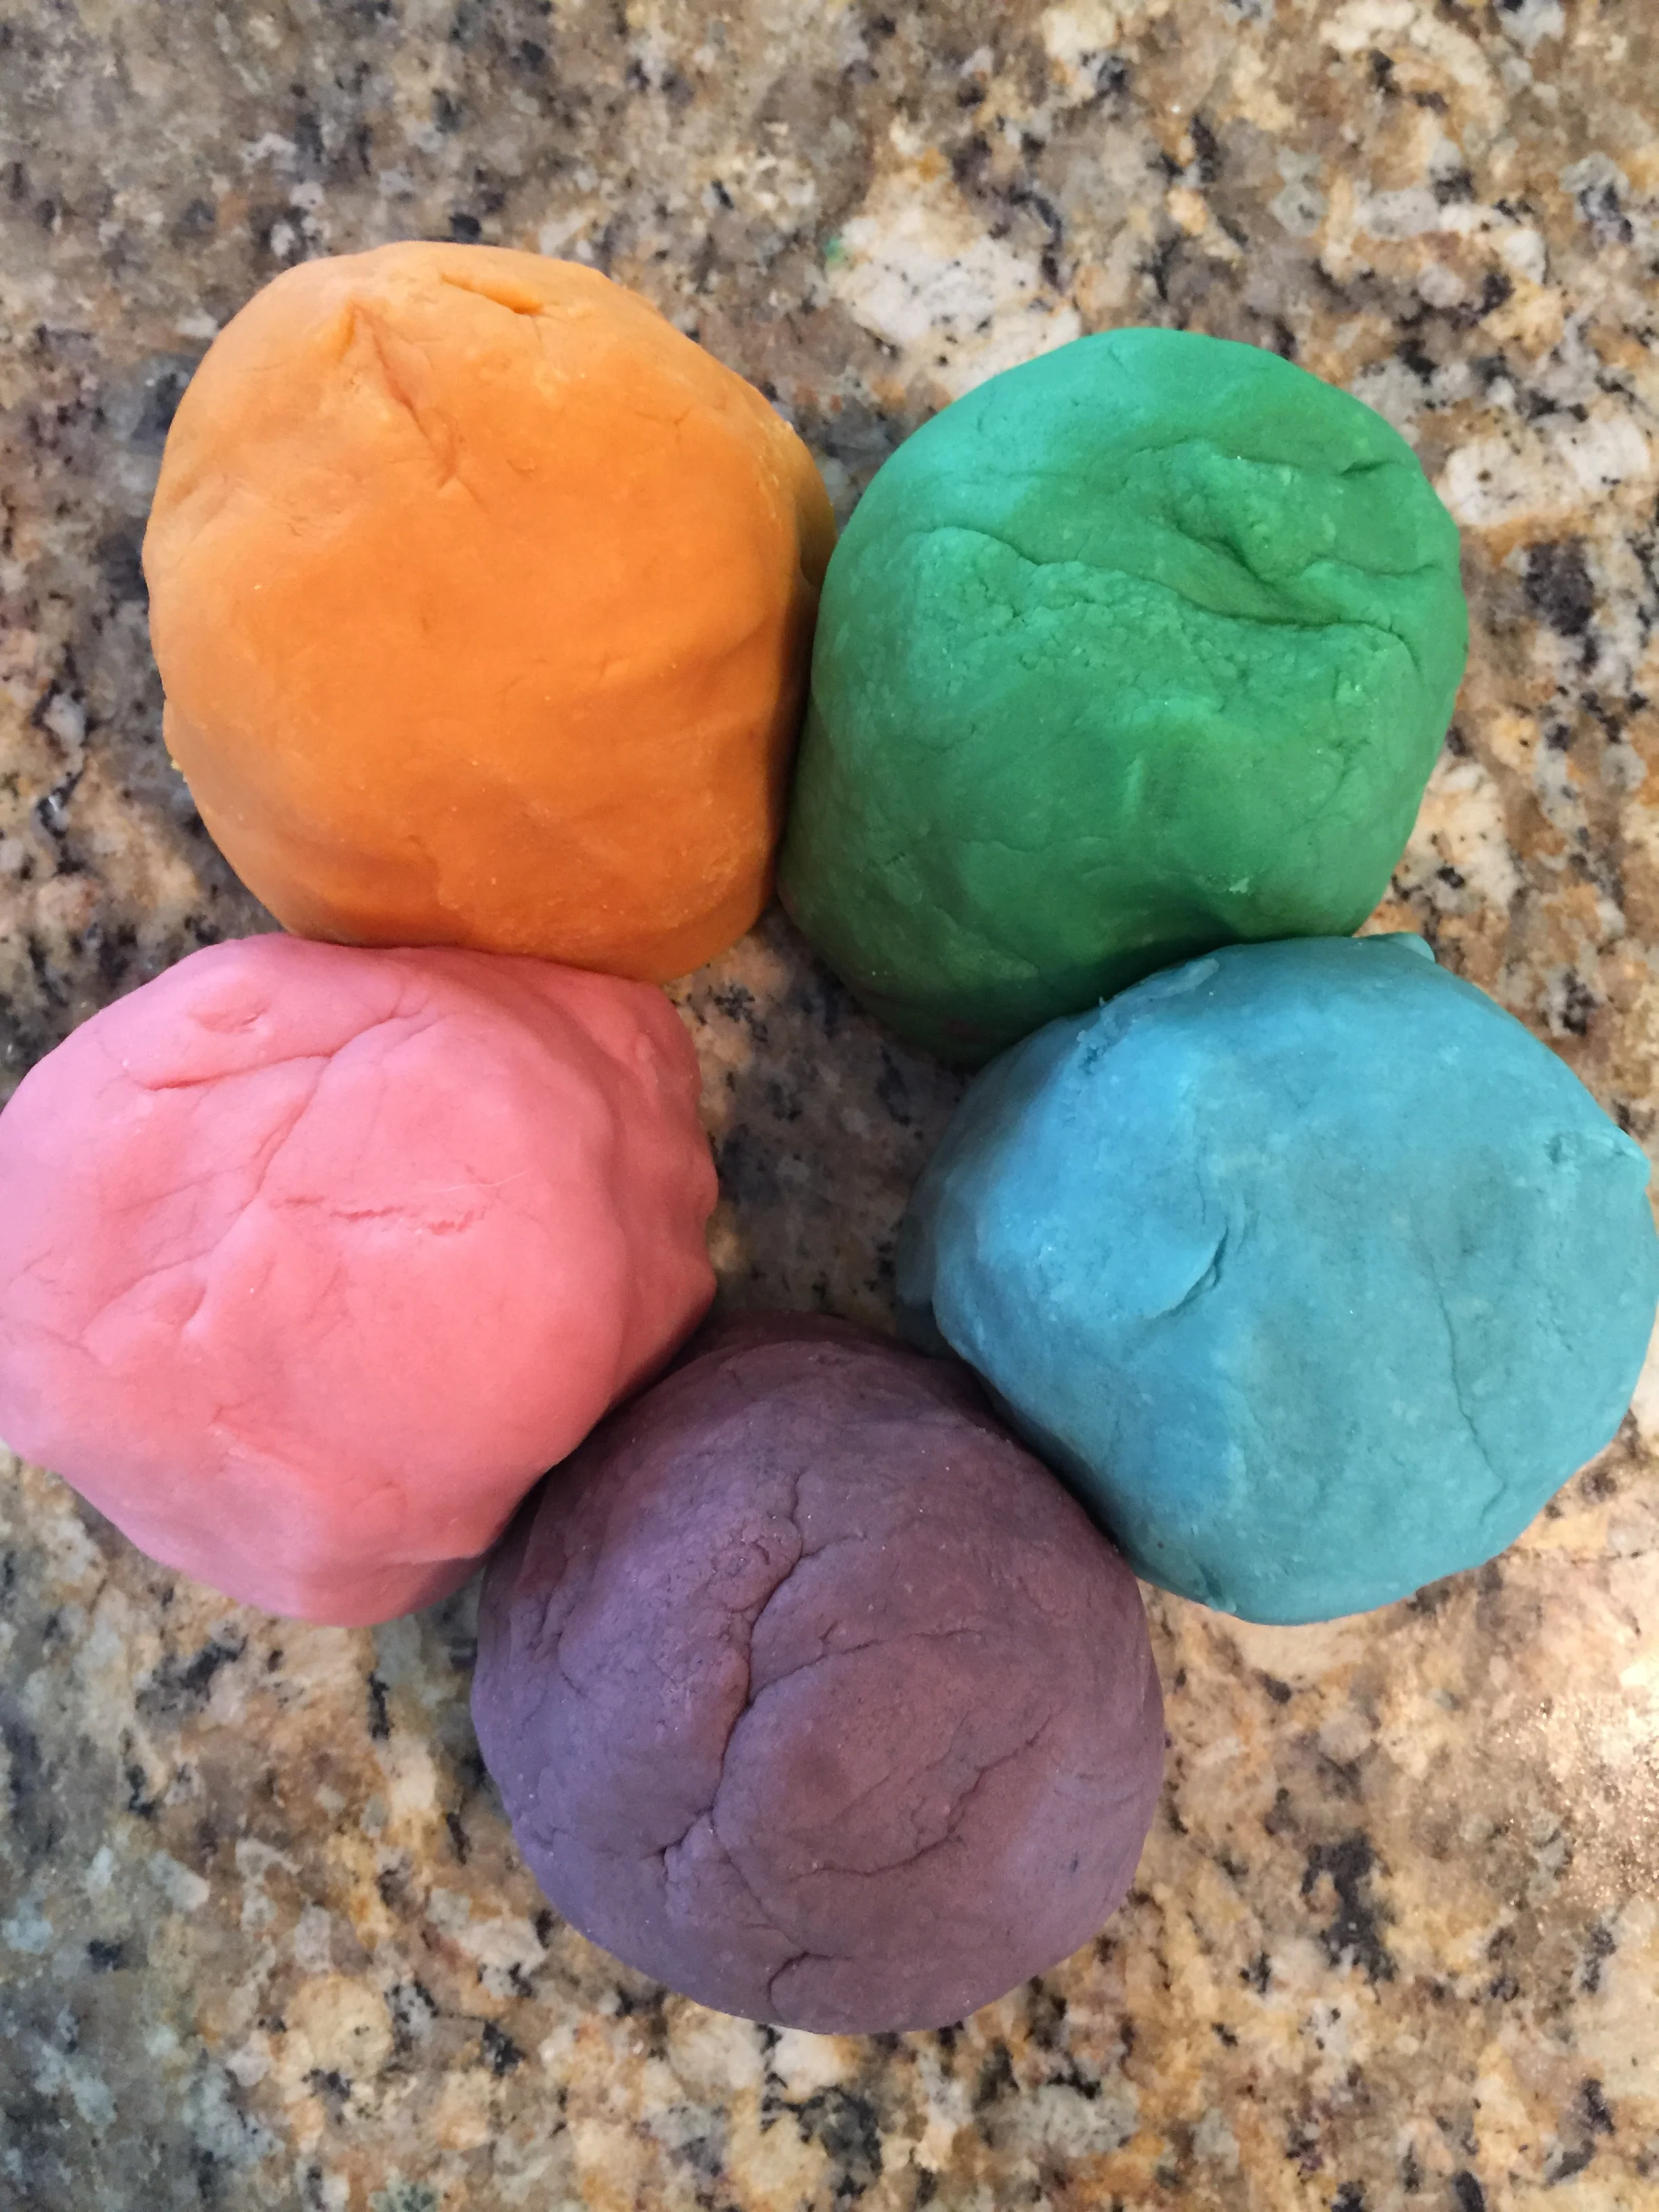
2. Once it’s combined, divide the divide the dough up and add food coloring (if you want). Make sure to continue to knead in the color until it’s even.
3. Roll it out with a rolling pin (or anything you have similar, like a water bottle). Use cookie cutters to make shapes or use a cup to make circles for snowmen. Make handprints and footprint ornaments but pushing in your little ones hands in the ornaments, and then cutting around them for the shape.
TIP: Make sure to make holes to string up your ornaments! Easy to forget and there’s no going back. Use something large like a pencil, because when the salt dough ornaments bake the hole will get much, much smaller. Try not to be too close to the edge either, because it will become brittle and can break.
4. Once you’re finished, put them on a baking tray and bake them at 200 degrees for 2-3 hours. Make sure they are not sticky on the back at all before taking out. Also make sure you don’ burn them! It’s possible to leave them in too long, and then the backs will become brown. Not that you can’t paint over that…
5. Let them cool a few hours before painting them.
TIP: If you’re pressed for time, wait till tomorrow and have the painting be another creative project to do as a family. You don’t want to burn the little ones out having “too much fun!” haha Enjoy and Happy Holidays!


